Introduction/Overview
Candle making with kids is a fun and engaging activity that can promote creativity and progress problem-solving skills. It generally involves helping children to prepare the necessary supplies, such as wax, wicks, jars, dyes and fragrances, as well as teaching them how to assemble the candles correctly. Depending on the age of the child, parents or guardians may need to assist them in melting, mixing and pouring the wax until it hardens into shape. Once all of the necessary supplies are assembled and understood by the kids, they can experience how exciting creating these colourful decorative items can be. Additionally, there will be ample opportunities for both young and old to enjoy experimenting with designs or engravings as well as discussing possible uses of their finished products. Candle making with kids can also become a starting point for conversations around various topics such as home decoration and business opportunities they could explore in this field once they become older.
Supplies and Materials Needed for Candle Making
Candle making with kids is a great way to teach them the basics of working with heat and wax while having fun at the same time. To get started, you will need some basic supplies and materials such as a double boiler or pot and pan, wax, wicks, dye, additives like fragrance oils, molds for each candle shape and size you would like to make, thermometer to monitor the wax temperatures, stirring tools like wooden or metal spoons or chopsticks. You will also need safety gears such as safety goggles and silicone heat resistant gloves. Lastly you may need substances like topping like glitter for those special candles too! Follow these steps when introducing your kid to the world of candle making: first use a good book filled with kid-friendly information on candle making; select a beginner’s recipe that uses simple ingredients that are easy to work with; prepare all your materials including wax in the double boiler before inviting your kid into the room then supervise their activities closely; finish off by giving out tips on how they can enhance their upcoming projects if they want more challenges. With practice and patience soon enough they’ll become pros at candle making!
Basic Techniques for Candle Making
Candle making can be a great activity to do with kids and adults alike. With a few basic techniques and tools, everyone can create their own unique candles. Here are some of the basics to have before getting started:
• Wicks ” these are pre-waxed threads that come in a variety of sizes; they will need to be inserted into the moulds before pouring wax
• Reusable Tins or Moulds ” suitable containers for holding liquid wax; metal is ideal as it heats more evenly
• Wax ” paraffin wax, soy wax, or beeswax blocks can be used for candle making
• Dye Blocks ” for creating coloured candles
• Fragrance Oils ” use sparingly but choose essential or synthetic fragrance oils
• Melting Pot ” metal stainless steel pots are ideal for melting wax, such as double boiler systems
• Thermometer ” used to ensure an accurate temperature is maintained during the melting and pouring process
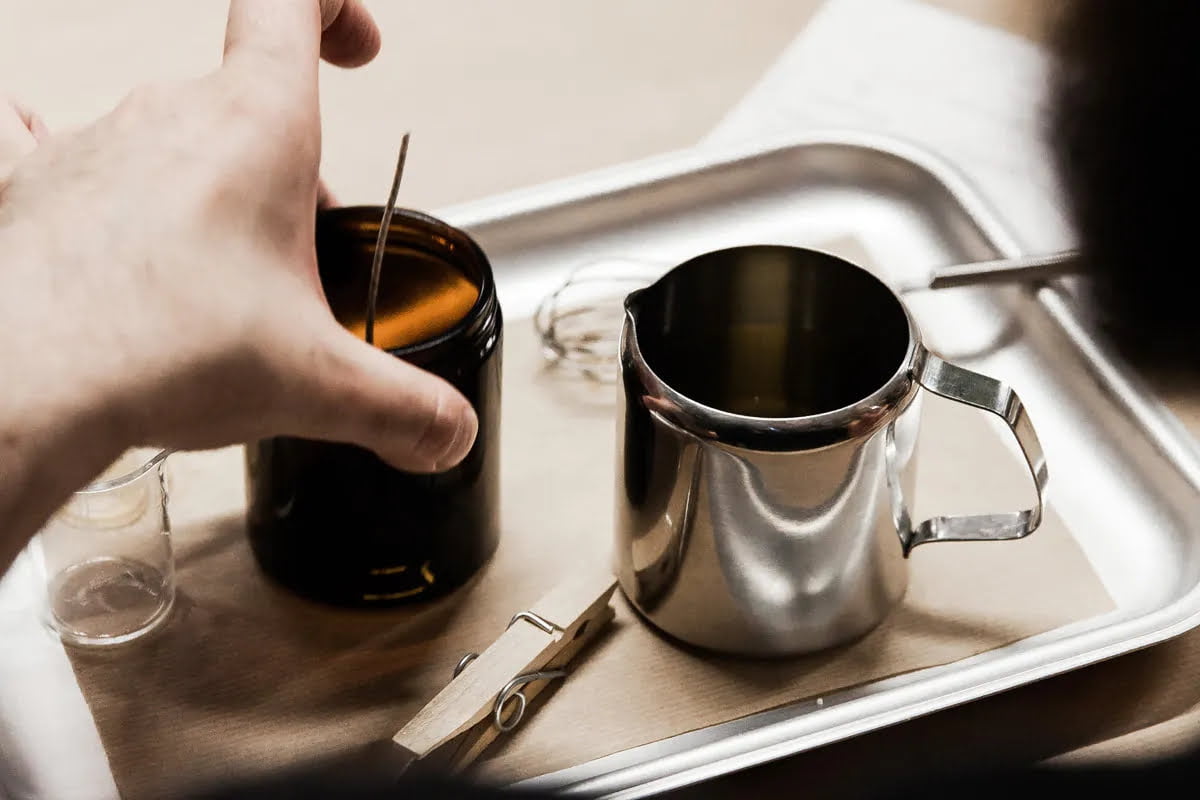
Once you have all of your supplies ready and nearby, it is best to lay out a large workspace cover with newspaper. This makes it much easier to clean up when finished. If using aluminium tins for moulds, melt them first in boiling water to avoid damage when filling with hot liquid wax. Place your wicks into each mould and secure the bottom using a clothes peg. Measure the amount of wax needed (it should never exceed two thirds of your container) and add in both dye and fragrance before beginning the melting process. Using a thermometer check that your temperature stays at around 65°C – any higher runs the risk of burning off both scent and colour. Pour slowly into each mould ensuring there are no bubbles on top. Finally attach each wick’s tab to either a piece of cardboard or resting stick so they stand upright while setting (approx 2″3 hours). Then trim off any excess wick before enjoying your new creations!
Different Types of Wax for Candle Making
Candle making with kids can be a fun and rewarding experience for the entire family. There are several different types of wax used in candle making that can help create unique and interesting pieces. Paraffin wax is most popular, as it is relatively inexpensive and easy to work with. Soy wax is an all-natural option that tends to burn cooler than paraffin and emits very little smoke when burning. Beeswax has become more popular recently because it is made from natural beeswax and breaks less easily than other types of wax. Palm Wax has similar characteristics to soy but stands out for its beautiful crystal finish when melted down. Last but not least, Gel Wax provides candles with longer burn times as well as having a dynamic look when lit up due to the way it swirls around. Ultimately, each type of wax has their own benefits for creating different types of candles so experiment where possible!
Decorative Ideas for Candle Making
Candle making with kids can be a creative and fun activity. It is also an opportunity to teach children about the importance of safety when working with fire and hot wax. There are a variety of decorative ideas for candle making with kids. For example, you can use food coloring or glitter to dye the wax so that the candles will have fun colors, or add decorations into the container before pouring in the melted wax for a unique design. You could use crayons to create patterns on white candle wax and make marbleized designs using two colors. For a scented candle, you can use oil-based fragrances and essential oils so that when they are lit they will fill your home with lovely aromas. Finally, you can mold shapes such as hearts, stars, or animals out of wax for an interesting effect. Candle making with kids is a great way to explore creativity and experiment with color, scent, and design!
Aromatic and Color Options for Candles
Candle making with kids can be a fun, creative way to boost their confidence and express themselves. There are so many aromas and colors available for candles that your child is sure to find something perfect for them. For example, if they want a citrusy smell, use essential oils or candle fragrances such as orange, lemon, or lime. If they want the scent of vanilla or chocolate, there are plenty of options to choose from! As for color, you can pick up food coloring from the store and mix it in to get just the right shade. Kids may also want to try mixing different shades together to create their own unique blend. And don’t forget glitter! Sprinkling tiny flecks of glitter is an easy way to make vibrant and eye-catching candles. These simple additions will ensure your kiddo’s candelight has some amazing personality!
Guided Steps for Creating Candles with Kids
1. Gather Materials: Before beginning your candle making journey, make sure to gather the necessary materials. You will need wax, a double boiler, wicks and some sort of mould. Tip: Purchase all the ingredients online which can be easy and affordable.
2. Prepare The Moulds: Place the moulds on a flat surface and secure the wick into them with a drop of melted wax or glue. Make sure that the wick is tight inside so it stands up straight when pouring in the hot liquid wax.
3. Melt Wax: To begin melting your wax, fill a double boiler with water and bring it to a simmering point over medium heat. When you have achieved this, slowly add desired amount of wax chips into the upper part of the boiler and slowly stir until melted thoroughly. Be careful here since boiling water and melted hot wax can be hazardous if not handled correctly.
4. Pour Wax Into Moulds: Once you have reached your desired temperature, turn off the heat source underneath and gently pour the molten wax into each mould until it reaches the top edge and then let cool for about 15-20 minutes or until completely solidified.
5. Remove From Moulds: After cooling down, carefully remove candles from moulds by tapping each side against a hard surface before releasing them one by one from their inner casing casings with forceps or any other tool you think appropriate to do so safely.. Finally decorate each candle however you like – get creative here!
Common Safety Tips for Candle Making
Candle making with kids can be a fun and educational activity! It’s important, however, to take special precautions before lighting any candles that are made. Here are some common safety tips to consider when engaging in this activity:
1. Always supervise children while they are engaging in any sort of candle making activities, such as melting wax, packaging the product and especially when handling open flames.
2. Make sure to work in an area with good ventilation to prevent smoke inhalation.
3. Use only materials intended for candle making; cans or other containers should never be repurposed for these activities as a result of toxins leaching from the can into the wax melt pool.
4. Wear protective gear, including heat-resistant gloves, when handling molten wax and metallic objects associated with the process.
5. Keep all materials out of reach from pets or young children who may swallow them by mistake or suffer burns ifhandled inappropriately.
6. Don’t leave burning candles unattended; make sure there is close adult supervision at all times during candle lighting and burning sessions.?7.?When giving away candles as gifts, mention any safety tips that must be taken into consideration prior to use (e.g., monitor flame size).
Storage Solutions for Finished Candles
When it comes to storing homemade candles made with children, there are a few important things to consider. First, candles should always be stored in cool, dry areas away from direct sunlight and heat sources. This will help keep the wax in good condition and prevent it from melting or warping. In addition, choose a storage method that is safe and easy for kids to use. For younger children, consider placing the finished candles in clear plastic containers with lids. These containers can help preserve the candle’s scent and can also protect against dust and dirt. For older children, storing each candle in its own box or wrap plastic around each candle is another great way to ensure their safety from breakage. Additionally, labeling the boxes or wrapping with descriptors such as “lavender scented” or “vanilla-scented” will make it easier for little hands to find just what they are looking for when crafting again!
Conclusion
Candle making with kids is a fun and creative activity that comes with numerous benefits. It encourages the development of essential problem-solving skills, such as critical thinking, decision-making, and problem-solving techniques. Kids also get to explore their creative expression, experiment with ingredients and new products, and have a sense of accomplishment when they are able to make something unique. Furthermore, working with candles can help build self-confidence in young children since it requires them to be creative and open minded in order to come up with a successful design or product. Doing candle making with kids can not only foster essential development skills that are useful in later life but also provide a wonderful bonding experience between parents and children.

Welcome to my candle making blog! In this blog, I will be sharing my tips and tricks for making candles. I will also be sharing some of my favorite recipes.


