Introduction to Candle Making
Dipping candles is a simple, meditative form of candle making that is popular for those who want to create handmade candles with a practical, rustic look. With the basic understanding of the supplies, tools, and safety precautions involved, people can create personalized dipped candles as a beautiful gift or as part of home décor.
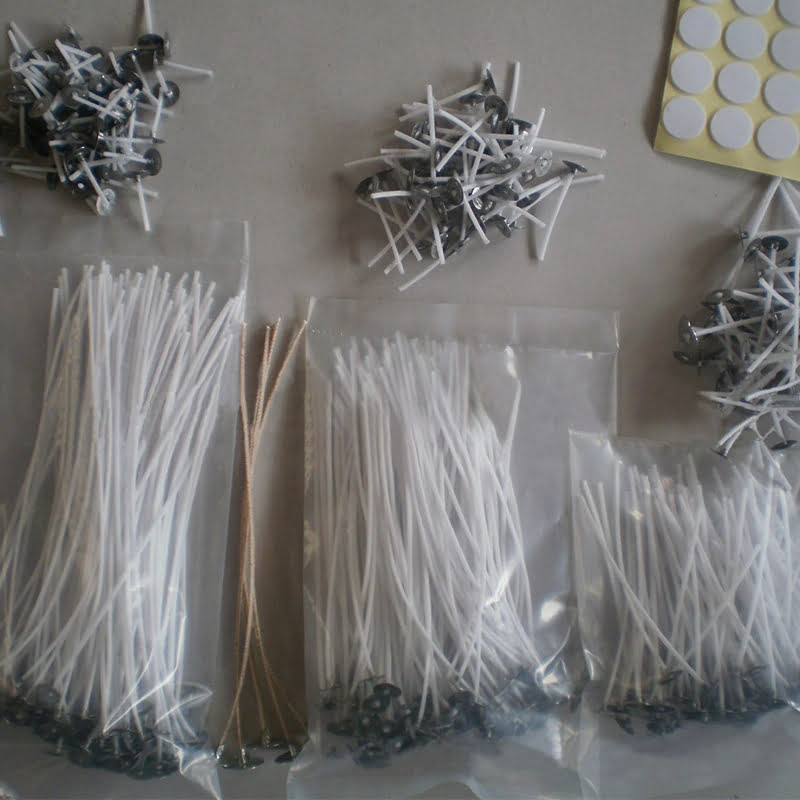
For starters, it’s important to understand the common items needed for making dipped candles; wax, molds such as paper-lined cones if desired, wick sticks to secure and hold the wick in place during dipping, metal or cork weights to help submerge the wick in melted wax, candle dye and fragrance oil if desired. Several types of waxes are readily available on the market such as paraffin wax, beeswax or soy wax which all provide different results when used for dipping. Paraffin wax provides a good blend of hardness when hardened and good burning quality while beeswax holds scent more effectively and possesses more shine than other types of waxes. Soy wax also has a low melting point which makes it easier to dip multiple times if desired.
For safety purposes while working with heat sources and melted waxes it’s important to wear protective eyewear and work gloves at minimum but fire retardant clothing is highly recommended – especially when you dip near open flames or use an electric melter for larger projects. It’s also important to use sufficient ventilation when working with any type of heating element used for melting down your materials due to fumes from both smoke and any fragrances added during production.
Once all supplies & tools are obtained then you’re ready to get started with your own personal candle project! Certainly follow up with industry experts for specific instructions but don’t be discouraged in experimenting either since masterpieces are often made through trial & error.
History of Candle Making
The practice of making candles by dipping started as early as the third century AD, when unrefined tallow was dipped in successive layers of wax to form a candle. This type of candle was used mainly for lighting and by people trying to provide warmth.
In Europe during the Middle Ages, beeswax was used to dip candles. At this time, churches began using beeswax candles as part of their ceremonies and this contributed to the popularity of dipping candles making.
In colonial America, settlers made bayberry candles from tree sap and other materials found in nature to be used for light and heat at home. Tallow come back into fashion at that time due to its availability, though it had a reputation for smoking and smelling unpleasant.
Candles have had various levels of importance over time in different cultures and religious practices: In Ancient Rome, they were used during pagan worship; in Christianity, sacred ceremonies are observed with a special type of baptismal candle; while Jews observe seven-branched Menorahs with bulbs representing each day God took to create the universe (Shabbat).
Dipping candle making is still valued today due to its historical significance as well as the fact that it allows users more control in crafting their own individualized candles in shapes, sizes, colors and scents – adding safety and flexibility for households for celebrations such as holidays or birthdays.
Choosing Your Wax
Choosing the right wax is a vital step in making a successful dipping candle. There are many types of wax to choose from, each with its own benefits and drawbacks. Paraffin wax is a great all-purpose choice, as it has good melting temperature, adheres to the wick easily, has a nice scent throw and allows for easy dyeing with liquid dyes or chips. Beeswax is another popular choice for dipping candles; it emits an attractive honey scent and can make strong-scented candles without adding essential oils. However, beeswax melts at high temperatures and requires longer cooling times. Soy wax is growing in popularity due to its clean burn and natural origins; however, dyeing with liquid dyes can be difficult, so chips are usually recommended.
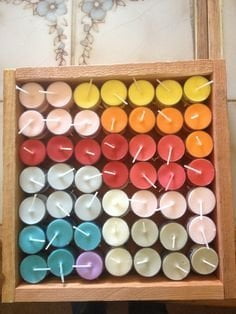
When it comes to fragrances and colors for dipping candles, you have many options! Essential oils such as lavender and geranium add some wonderful scents that help set your dipped candles apart from others. You can also use soap fragrance oils or even mix together different varieties of oil to create unique scents. To color your dipped candles you have 2 main choices: Liquid dyes or wax chips (sometimes referred to as “flakes”). Generally speaking, liquid dye gives more vibrant hues while the flakes give softer tones depending on how much you use in a batch of melted wax. Lastly, each type of wax will melt at different temperatures – paraffin typically melts at between 130-140°F while soy wax should melt between 140-150°F ” so you’ll want to keep this in mind when deciding which kind of wax will work best for your project.
Preparing Your Workspace
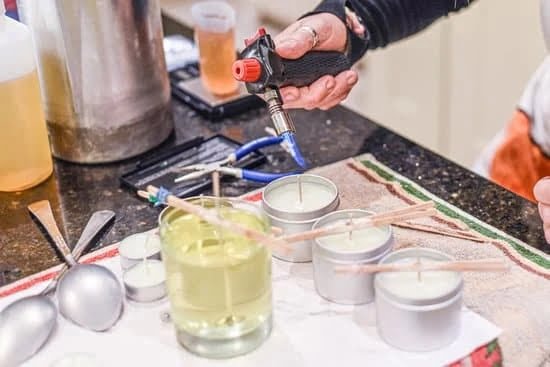
Before beginning the dipping candle making process, it is essential to first prepare your workspace. You will want to make sure that you have a designated and safe area in which to work so that you can avoid any potential dangers. To begin, gather all of the materials and tools you will need for the project. This could include wax, wicking, dye, and molds for pouring the wax in. Make sure that this space is well-ventilated and has plenty of natural light so that you can see what you are doing. Additionally, prepare a heat-resistant surface on which to pour your melted wax such as a marble slab or cookie sheet. Finally, be sure to wear gloves and protective eyewear throughout the entire process as hot wax can cause serious burns if it comes into contact with exposed skin and eyes. Taking these few steps will help ensure the safety of yourself and your environment when engaging in dippied candle making!
Making Your Candle
1. Prep the wick: Begin by cutting the wick to a size that will fit inside your wax container. Wrap one end of the wick around a pencil and line it up along the top of the container ” this will make it easier to dip your candle later on.
2. Prepare the wax: Put your wax into a wax melting pot and heat it over low-medium heat until completely melted. If you would like to add fragrance, colors, or decorations, add these now and stir until combined evenly throughout the melted wax.
3. Dip your candle: Using a spoon or ladle, slowly submerge your prepped wick into the melted wax, lifting it up slowly at an angle after every few dips ” this will ensure even coverage throughout each of your candles. Stop dipping as soon as you reach your desired thickness/length for each candle and let cool completely before moving on to step 4.
4. Finishing touches: Hang each dipped candle off of something sturdy so they can turn freely while drying – this helps avoid unsightly rings and allows for a smoother finish overall. You can also use scissors to trim any uneven edges if needed. Finally, let everything dry overnight before removing from their hanging objects and adding labels or custom decorations!
Finishing Touches
When finishing your dipped candle, there are several materials that you can use to make it one-of-a-kind. To start, consider the color, texture and design of the wax coating on your candle. You may want to add different colored waxes or finishes to give it some color. Glitters, inks and dyes all provide an interesting flair to finished candles, as well as mica powders or other shiny chunky grinds for a beautiful finish.
In addition to the wax colors and textures, you can create interesting designs using wicks and ribbon. Wicks come in a variety of colors and sizes ” experiment with different lengths and shapes. Ribbons in various colors, patterns, styles and thicknesses can be used for decorative purposes such as tying a bow around the base of the candle or strategically placing them along the body of the candle. Alternatively, you can wrap tissue paper or other thin material around your candle as a finishing touch! Finally, if necessary/desired highly fragrant essential oils or scent additives may also be added prior to dipping each individual layer for extra dimension.
Tips for Troubleshooting
Wick Burning:
If the wick is burning too quickly, try trimming it to a shorter length before lighting it. You may also need to use a larger diameter of wick for the size of candle your making. Make sure that you position the wick in the correct spot before secureing it with a hemostat or metal clip. Additionally, avoid putting the wick too close to wax walls; wax walls may not be hot enough to keep feeding the wick, so make sure you leave some extra space between them.
Uneven Wax Coating:
To prevent uneven wax coating on your candles, start by pouring your wax into your mold at a consistent speed and ensure you let the layer of wax cool down completely before pouring more on top. Additionally, judging when to stop adding layers can be difficult; make sure that you follow your recipe’s instructions as closely as possible so your candle has enough time and layers to come out even-looking. To increase evaporation rate during cooling you can use an air circulation fan pointed gently at the candle ” being careful noty to blow melted wax out of place or put out its fire!
Spillage:
It is important that both the base of whatever container you are using and where ever you are pouring from are free from any residue or obstruction from left over scrapings from previous candles. Spillage can also occur if there is too much heat which may cause melting or other irregularities around curves or edges – you should use a heatgun sparingly, reducing settings gradually as needed for each new coat. Lastly, when placing vessels or containers within molds, avoid placing them too low “make sure that all contents fit snugly for best results!
Taking it Further
Rolling Candles: This technique involves pouring warm wax into molds and rolling and shaping it around a wick to form a cylindrical shape. Once the wax has cooled enough, you can remove the candle from the mold and trim the wick. You can also use custom-shaped molds to create candles in various shapes, such as stars or hearts.
Rolling into Molds: If you have more complex designs in mind, you can try rolling your candles into molds. First, prepare your melting pot and pour melted wax into a container that’s slightly larger than your mold. Take the mold and dip it several times into the hot wax until it’s coated with a few layers of wax. When you have reached your desired thickness, take it out of the wax and allow it to dry completely before peeling away from its sides your finished candle.
Dipping Multiple Colors: To achieve vibrant colors for your dipped candles, you can layer them in multiple hues. Start by dipping one color at a time then use tweezers or tongs to hold each colored layer below the surface for several seconds before slowly pulling upwards. Continue building up layers of color until all the colors are evenly distributed throughout each candle.
Ideas for Turning Dipping Candle Making Into A Business: If you’re looking to make this hobby into a business venture, there are lots of ways to do so! Consider creating an e-commerce site where customers can come to learn about what kind of dipped candles you offer, as well as purchase them directly from you if they choose to do so. You could also look into selling wholesale orders or partnering with retail stores to carry some of your products in their inventory; this would help spread awareness about what types of options are available through your business without having to invest too much money upfront on marketing efforts or product development yourself. Additionally, consider joining local networking groups or social media platforms like Instagram – these channels enable potential customers or future clients an easy opportunity to find out more about what you have available while learning more details about how/where they can order from you.
Conclusion
The art of dipping candle making is an incredibly easy and enjoyable craft. It’s a wonderful way to create beautiful and unique candles from the comfort of your own home. Many people are discovering the appealing and therapeutic aspects of candlemaking, from experienced crafters to beginner hobbyists alike.
Dipping candle making requires a few simple materials, such as wicks and wax, that can be easily found in most stores or online. Once you have these supplies handy you can begin. To get started, prepare the wax melts by melting them in a double boiler over medium heat until completely melted. Dip the wick into the melted wax multiple times until your desired thickness is achieved, around 4-6 should do it well. Allow each layer of wax to cool before dipping again, this will ensure that your candles look smooth with no air bubbles!
Afterwards you can add color or scent to give it your personal touch or let it set aside for elegantly simple pure white candles.
With dipping candle making, you can now easily create candles perfect for any special occasion or even just as decoration around your home. The possibilities are truly endless as you mix and match colors, scents, shapes and sizes! Whether it be grand statements pieces with multi-colored layers dipped multiple times in various patterns or carved details along a single tall column – There is something for everyone’s taste when delving into this fun craft! Get creative with bolder designs using glitter flakes or gold leaf accents for those extra special creations. With some practice and courage to experiment you’ll be surprised at what you can come up with!
All in all Dipping Candle Making is a fun activity that can provide an escape from reality as well as creating memorable end products – something both therapeutic to make as well as aesthetically pleasing at the end result!

Welcome to my candle making blog! In this blog, I will be sharing my tips and tricks for making candles. I will also be sharing some of my favorite recipes.

