Introduction
Candle setting is the process of allowing a candle to cool and harden after it has been melted and poured into a mold or container. The duration of setting will depend on the wax or wax blend used in the project, temperature, and the size of the candle itself. Candle setting also helps to solidify the color of your candle and make it easier to remove from its mold when ready. Benefits include creating an even burning candle with a clean finish, as well as having better control over shapes.
Duration Factors
Wax Type: The type of wax used to make a candle will always have an effect on how long it takes to set. For example, paraffin wax is typically harder and takes longer to form, whereas soy-based wax can be softer and faster to set.
Fragrance/Coloring: Adding a strong fragrance or coloring to your candles also affects their setting. A heavily scented candle or one with vibrant colorings like pink or green will take longer to harden as the added ingredients make it more difficult for the wax to congeal.
Container: If you are using molds for your candles, this can drastically change how fast the wax sets. Glass containers tend to absorb heat quicker, resulting in a faster setup time, while plastic containers often require extra time due to their lack of heat conductivity.
Temperature: Temperature can also have a big impact on candle setting times because if it is too cold, then the wax won’t diffuse properly and congeal as quickly as it needs in order to successfully create a candle. On the other hand, if you leave your wick and hot wax in an overly warm environment, then you risk a premature melting of the entire project before it has had enough time to set properly.
In general, most candles can take up to two hours for them fully form into candles; however, all these factors may alter this time frame depending on each individual situation.
Time Required for Different Kinds of Candles
Paraffin Wax Candles: Paraffin wax candles typically require the shortest amount of time to set, usually around 1-2 hours. To achieve a clean and even candle, allow the layers of wax to completely cool before adding additional layers.
Soy or Beeswax Candles: These kinds of candles generally take upwards of 2-4 hours for each layer of wax to properly cool and set before adding a new layer. Be patient when making these types of candles, as waiting too short a time between pouring each layer can create unsightly bubbles or cracks in the finished product.
floating Candles: Floating candles have a more complicated system that is reliant on the successful setting of various pieces in order for it to stay afloat. The wick (usually metal) must be properly placed beneath the cup filled with water and wax, which may take up to 3-5 hours to settle into place. Therefore, it’s important you give each component enough time in order for your candle to remain stable when lit.
The Proper Curing Process
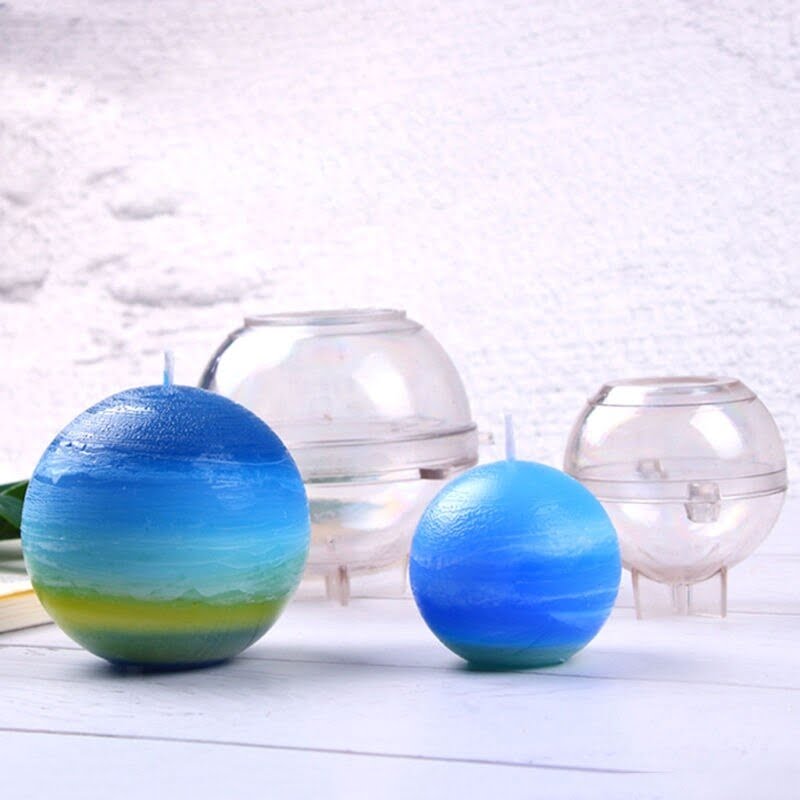
The proper curing process for setting candles starts with the preparation of a candle mold or jar and the wax pour. The wax should be melted at a safe, low temperature before pouring in to the mold or jar. Afterward, you should place the mold in a cool, dark place and let it sit undisturbed for several hours.
While waiting, you must also pay attention to two other things: clutter and ventilation. It is important that there are no objects close to your candles while they are setting”especially those made of metal”to avoid discolouring or melting of your candles during the cooling process. Additionally, make sure that your workspace has sufficient air flow and ventilation measures in place so that no high levels of smoke are generated from the burning of scent oils.
Once a minimum of six hours have passed since you have poured the molten liquid wax into your mold or jar, you will need to check for wick marks on your candle’s surface. This indicates that it has cooled substantially and ready for trimming or decoration. Any excess excess wax should be scrapped away from these candle surface carefully to ensure these details are not compromised during further processes.
After this initial cool down period is complete, allow 24-48 hours for full curing depending on climate conditions as well as the type of wax used to make your candle – natural or synthetic. If done properly, this should complete all necessary steps in ensuring a successful candle set!
Important Tips to Consider
1. Be patient and avoid touching or jostling the candles while they harden. Sudden movement can cause the wax to shift before it has fully cooled and hardened, which will affect the end result.
2. Keep candles in a cool, dry place away from direct sunlight or any source of heat until completely set. The cooler environment will help the candles stabilize quicker and prevent them from becoming misshapen due to excess heat.
3. Ensure that the wicks are securely centered and standing upright with enough distance between them to prevent them from melting together as they cool down.
4. If making multiple candles at once, choose molds that are similar in shape and size to help ensure they ‘set’ evenly throughout without any cooling issues during the process.
5. Allow time for the wax to settle after pouring; without settling, air bubbles may be present on the surface when finished. Depending on the type of container or mold used, this step should take 10″30 minutes or longer before cooling can begin in earnest.
6. When possible, use bathwater (warm not hot) for cooling larger batches of poured/melted candles rather than trying to set them at room temperature”cooling large batches of candles with water speeds up the process by more than half!
Conclusion
It typically takes about one to three hours for candles to cool and set after pouring. This time depends on several factors, such as the type of wax being used, the size of the candle, and the temperature in the room. It is important to let the candle fully set for at least 12 hours before burning it. To allow your candles to set faster and with fewer flaws, you can use molds, temperature-controlled wax, or additional additives like stearic acid or vybar. For further reading, check out our blog post on How to Make Your Own Candles at Home and get step-by-step tips on how to make beautiful DIY candles.

Welcome to my candle making blog! In this blog, I will be sharing my tips and tricks for making candles. I will also be sharing some of my favorite recipes.


