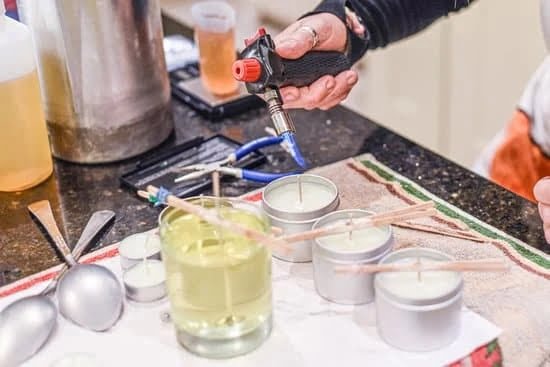
Beeswax candles have a long history and are known for their natural beauty, subtle aroma, and clean-burning qualities. In this article, we will explore the art of making beeswax candles through the dipping process. Whether you’re a beginner or an experienced candle maker, this step-by-step guide will provide you with everything you need to know to create your own handcrafted beeswax candles.
The process of making beeswax candles by dipping involves gathering the right supplies and choosing the best quality beeswax to work with. We’ll delve into the different options available and provide tips for selecting the perfect type of beeswax for your project. Additionally, we will walk you through the dipping process and offer advice on how to perfect your technique, add decorative touches, and experiment with scents to personalize your creations.
By the end of this article, you’ll not only have a newfound appreciation for the art of candle making but also the knowledge and skills necessary to create beautiful beeswax candles that you can enjoy in your home or give as thoughtful handmade gifts. So let’s get started on this journey into the world of beeswax candle making.
Getting Started
When it comes to making beeswax candles by dipping, having the right supplies is essential. Gathering everything you need before you start will make the process smoother and more enjoyable. Here’s a list of the basic supplies you’ll need to get started:
- Beeswax sheets or blocks
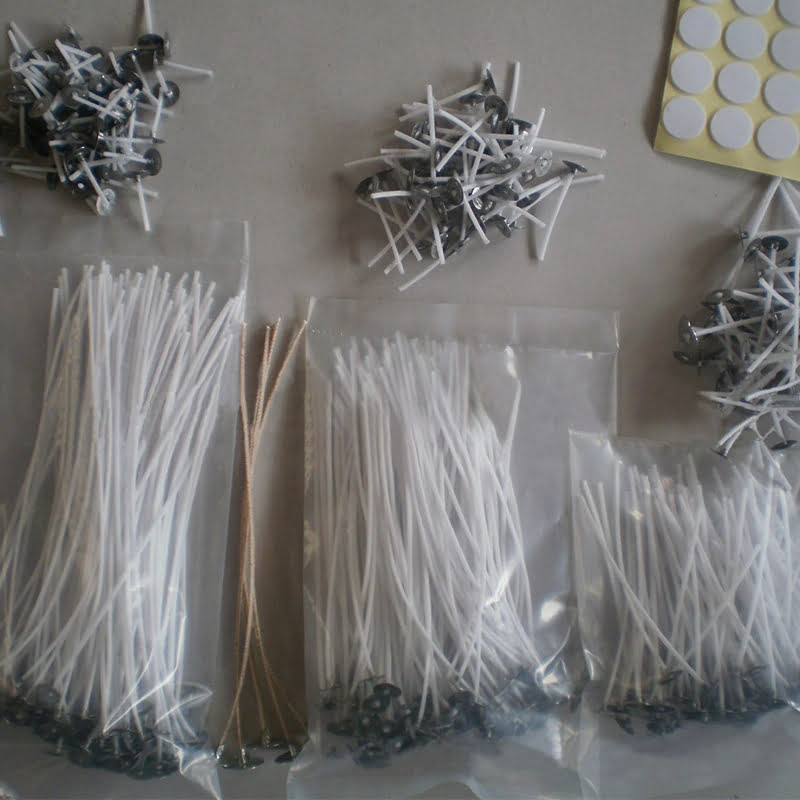
- Candle wick
- Double boiler or melting pot
- Thermometer
- Optional: coloring agents, fragrance oils, and decorative elements (such as dried flowers or herbs)
- Dipping container (can be a tall, narrow pot or a specially designed dipping tank)
Once you have gathered these supplies, you can begin preparing your workstation for the candle-making process. Clearing a flat, heat-resistant surface and laying down wax paper or newspaper will help protect your workspace from any wax spills. Make sure that all of your supplies are within easy reach to ensure a smooth and efficient candle-making experience.
Now that you have all your supplies ready, it’s time to dive into the world of beeswax candle making. Be sure to read through the instructions carefully and familiarize yourself with the process before beginning. With the right tools and preparation, you’ll be well on your way to creating beautiful hand-dipped beeswax candles in no time.
Choosing the Right Beeswax
When it comes to making beeswax candles, one of the most important decisions you’ll make is choosing the right type of beeswax. There are several different options available, each with its own unique qualities and benefits. Understanding the differences between these options will help ensure that you create high-quality candles that meet your specific needs and preferences.
Types of Beeswax
There are two main types of beeswax used for candle making: natural beeswax and filtered beeswax. Natural beeswax is unprocessed and retains its natural color, aroma, and impurities. Filtered beeswax, on the other hand, has been processed to remove impurities and produce a more consistent color and scent. Each type of beeswax has its own set of characteristics, so it’s important to consider which option will best suit your desired candle-making outcome.
Grades of Beeswax
Beeswax is also categorized into different grades based on its level of purity. The most common grades of beeswax used for candle making are cosmetic grade and pharmaceutical grade. Cosmetic grade beeswax is suitable for use in candles and provides a pleasant aroma and color. Pharmaceutical grade beeswax is even more refined and typically used in products such as ointments, lip balms, and medicinal creams.
Sourcing High-Quality Beeswax
No matter what type or grade of beeswax you choose, it’s essential to source high-quality material from reputable suppliers. Look for suppliers who prioritize sustainable beekeeping practices and offer pure, natural beeswax without unnecessary additives or processing chemicals. By selecting the right type, grade, and quality of beeswax for your candle-making project, you can ensure that your finished candles will be both beautiful and long-lasting.
The Dipping Process
Gathering Your Materials
Before you begin the dipping process, it’s essential to gather all the necessary materials. You will need sheets of beeswax, a wick, a double boiler or wax melter, and a thermometer. Be sure to have a large container of cool water nearby for the cooling process after each dip. Additionally, consider having a work surface protected with paper or plastic to catch any drips.
Preparing the Beeswax
Start by cutting your beeswax sheets into strips that are about 1-2 inches wide. The length can vary depending on the size of candle you want to make. Next, thread your wick through the center of one of the wax strips, leaving about an inch protruding at the top. Make sure to press the end of the wick firmly onto the bottom edge of the strip.
The Dipping Technique
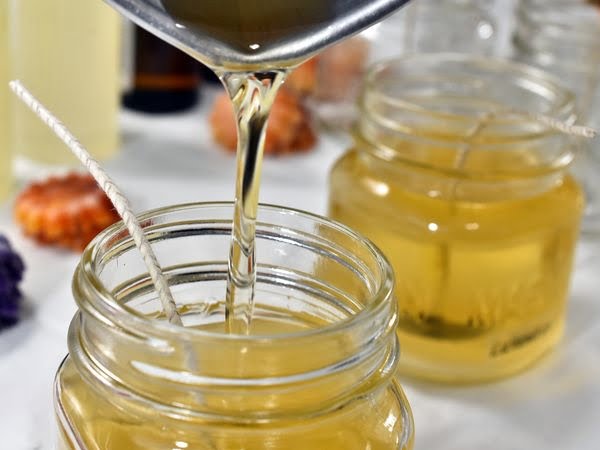
Once your supplies are ready, it’s time to start dipping. Heat your wax in a double boiler or wax melter until it reaches about 160°F (71°C). Holding onto the end of the wick, carefully dip your prepared strip of beeswax into the melted wax and then immediately into the cool water for just a few seconds.
Repeat this process, allowing each layer to cool and harden before dipping again. Keep repeating this process until your candle reaches your desired width and height.
By following these steps and practicing regularly, you will be able to master the art of making beeswax candles through dipping. Remember that patience and practice are key to achieving beautifully crafted homemade candles.
Tips and Tricks for Perfecting Your Dipping Technique
Dipping beeswax candles can be a fun and rewarding process, but it definitely takes some practice to perfect the technique. Here are a few tips and tricks that can help you create beautiful, smooth, and evenly-dipped candles.
First, it’s important to choose the right type of beeswax for dipping. Beeswax comes in different grades, so be sure to select a high-quality, clean beeswax with a high melting point. This will ensure that your candles hold their shape and burn evenly when they’re finished.
When actually dipping your candles, try to maintain a consistent temperature for your beeswax. If the wax becomes too hot, it can result in uneven layers and bumpy surfaces on your candles. On the other hand, if the wax is too cool, it may not adhere properly to the wick. Keeping an eye on your wax temperature throughout the dipping process is crucial for achieving smooth and uniform candles.
Another helpful tip for perfecting your dipping technique is to dip your candles quickly but steadily. Dip them in the wax for just a few seconds at first, then remove them for a brief moment before repeating the process.
This will allow each layer of wax to dry slightly between dips, resulting in more even and consistent candle shapes. Remember that practice makes perfect when it comes to dipping beeswax candles, so don’t be discouraged if your first few attempts aren’t flawless – keep at it and you’ll soon have stunning handmade candles to enjoy.
Decorating Your Beeswax Candles
Once you have successfully dipped and shaped your beeswax candles, it’s time to add a personal touch to make them truly your own. There are countless ways to decorate your beeswax candles, from simple touches to more intricate designs. One of the easiest ways to decorate your candles is by using decorative molds or cookie cutters to create unique shapes. Simply press the mold or cookie cutter into the soft beeswax before it hardens to create a beautiful design.
Another popular way to decorate beeswax candles is by adding color. You can achieve this by using natural dyes or pigments specifically made for candle making. Whether you prefer vibrant hues or subtle pastels, adding color can completely transform the look of your beeswax candles. You can also use decorative embellishments such as dried flowers, herbs, or glitter to add an extra layer of beauty and texture to your candles.
For those who are skilled in the art of carving, you can also try your hand at creating intricate designs directly onto the surface of the beeswax. With a little patience and practice, you can carve beautiful patterns and images that will truly stand out on your handmade candles.
No matter which method you choose, taking the time to decorate your beeswax candles will not only enhance their visual appeal but also make them even more special as personalized gifts for loved ones.
Adding a personal touch to your beeswax candles is a rewarding part of the candle-making process. It allows you to infuse each candle with a little piece of yourself and create something truly unique. Get creative and have fun experimenting with different decorating techniques until you find what best suits your style and vision for your handmade beeswax candles.
Scenting Your Candles
When it comes to beeswax candles, one of the best aspects is the natural honey scent that they emit when burning. However, if you’re interested in exploring different fragrance options to enhance the aroma of your candles, there are a few methods you can try. Here are some ideas for scenting your beeswax candles:
1. Essential Oils: Add a few drops of essential oils to your melted beeswax before pouring it into the candle mold. Popular options include lavender, vanilla, and citrus scents.
2. Herbs and Spices: Infuse your beeswax with dried herbs or spices such as cinnamon sticks, rosemary, or cloves for a natural fragrance boost. Simply place the herbs or spices in the melted beeswax and allow them to steep before pouring.
3. Beeswax Sheets: If you’re using beeswax sheets for making rolled candles, consider incorporating dried flowers or herbs between the layers for a subtle botanical scent when burned.
Experiment with different scents and combinations to find your favorite fragrance options for your handmade beeswax candles. Keep in mind that using natural additives will complement the already beautiful aroma of beeswax while providing a personalized touch to each candle.
Whether you prefer floral, herbal, or sweet scents, there are countless ways to add fragrance to your beeswax candles while still maintaining their natural appeal. Have fun exploring different options and creating unique scented candles that will fill your home with delightful aromas.
Using and Enjoying Your Handmade Beeswax Candles
Beeswax candles are not only beautiful and natural, but they also offer several benefits for those who use them. Beeswax is a sustainable and renewable resource, making it an eco-friendly choice for candle making. Additionally, when burned, beeswax candles emit negative ions that can help purify the air by neutralizing pollutants and allergens.
This can be especially beneficial for individuals with asthma or allergies. Furthermore, beeswax burns longer and brighter than other types of wax, so you can enjoy your handmade candles for extended periods of time.
In order to ensure that you get the most out of your beeswax candles, proper maintenance is important. Trim the wick to about 1/4 inch before each use to prevent excess smoking and ensure a clean burn.
When burning your candle for the first time, allow it to burn until the melted wax reaches the edges of the container in order to create an even burn pool for future uses. To extend the life of your candle, try to avoid exposing it to drafts and keep it away from heat sources that could cause uneven burning.
Properly cared for beeswax candles can last a long time and provide a warm and inviting ambiance in your home. Their natural honey scent adds an extra touch of coziness to any room. Whether used as decorative pieces or for aromatherapy purposes, beeswax candles are a delightful addition to any living space.
| Benefits | Maintenance |
|---|---|
| Eco-friendly | Trim wick before each use |
| Purifies air | Burn until melted wax reaches edges |
Conclusion
The art of candle making with beeswax is a truly rewarding and enriching experience. From the moment you gather your supplies to the final touches of decorating and scenting your handmade candles, there is something magical about the process. Whether you are a novice or an experienced crafter, creating beeswax candles through the dipping method allows for endless creativity and personalization.
As you venture into the world of making beeswax candles by dipping, it’s important to remember that each step in the process holds its own unique charm. From selecting the right beeswax to perfecting your dipping technique, every decision and action plays a significant role in creating a truly exceptional product. Embracing this art form means embracing patience, attention to detail, and a deep respect for the natural materials used.
In conclusion, the journey of making beeswax candles through dipping is not just about crafting beautiful and functional products. It’s also about connecting with nature, understanding the value of handmade items, and finding joy in the simple act of creating something with your own two hands. So whether you choose to make beeswax candles for personal use or as gifts for loved ones, remember that every dip of wax adds to the story of your candle-making journey.
Frequently Asked Questions
How Do You Make Beeswax Dip Candles?
Making beeswax dipped candles requires melting beeswax in a double boiler, dipping the wick into the wax multiple times, and allowing it to cool between each dip. This process creates layers of wax around the wick, resulting in a beautiful candle.
What Is the Best Wick for Dipped Beeswax Candles?
The best wick for dipped beeswax candles is one made of natural fibers like cotton or hemp. These materials work well with beeswax and provide a consistent, steady burn. It’s important to choose the right size wick based on the diameter of the candle for optimal performance.
Do 100% Beeswax Candles Drip?
100% beeswax candles typically do not drip when they are burned correctly. They have a high melting point which allows them to burn slowly and evenly without producing drips or excessive smoke. However, drafts or improper wick trimming can cause dripping, so it’s essential to follow proper burning guidelines.

Welcome to my candle making blog! In this blog, I will be sharing my tips and tricks for making candles. I will also be sharing some of my favorite recipes.

