Introduction
Making candles with crayons is an easy, creative, and cost-effective way to upgrade any space. With a little patience and creativity, you can turn an ordinary wax candle into one that’s personalized with your favorite color. To make this unique craft, you will need some basic items such as crayons, wax flakes or pellets, wick, empty candle tins or jars, and a double boiler of sorts (such as a pot filled with water that you can place a heat safe bowl in). Depending on the style of candle you would like to create, you might also need some felt squares and essential oils for scenting.
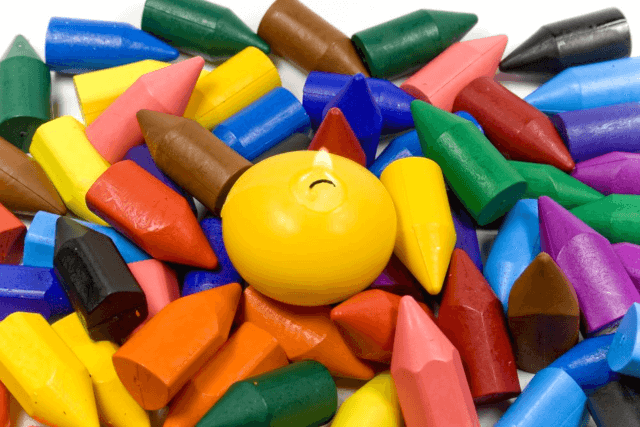
Once the supplies have been gathered, start by sorting out the colors of crayon that you would like to use for your favorite tinted candles. Generally speaking, softer pastel hues are more effective than brighter shades when it comes to coloring wax. Shave off thin slices from each of the crayons until there is around half a cup of pieces altogether ” if needed you could grate them slightly smaller for faster melting. Put the shavings into a separate bowl so they won’t mix together when melted over heat.
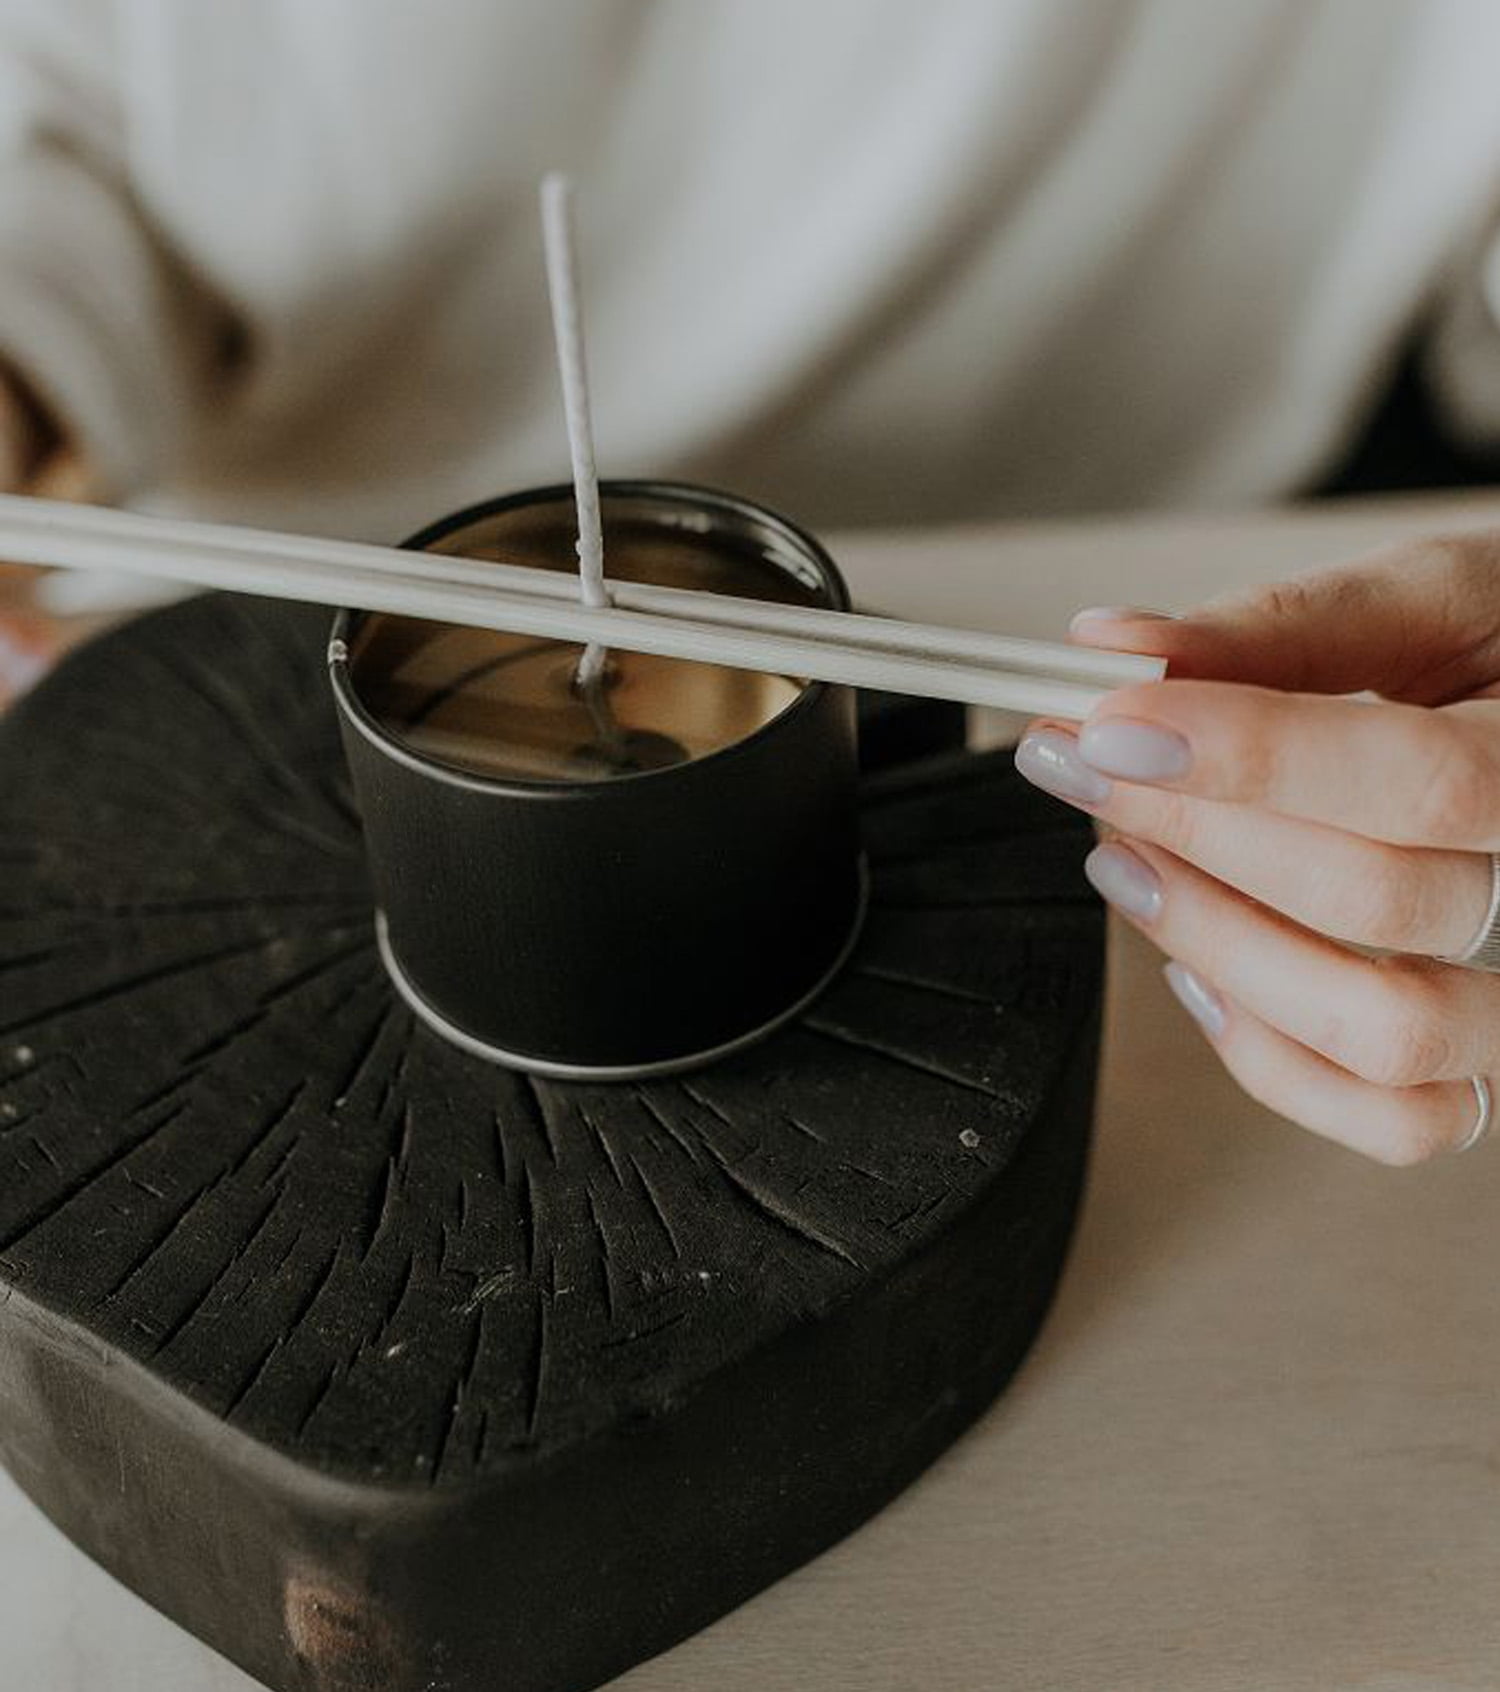
Next step is to fill the empty candle tins or jars with wax pellets or chips ” enough so that they rise 2/3 up the side wall ” before positioning a pre-soaked wick at the center of each one and securing it down with two small pieces sticky tape cut into circles. Add a few drops of essential oil if desired before heating up some water on medium-heat in order to place the bowl full of crayon shaving pieces inside it; stirring occasionally as they melt until completely liquidized which should take approximately 10 minutes depending on how many shavings were used initially.
Once all components are both ready and available pour the melted crayon dye carefully into the filled tins up to ¼ inch from their lip levels before allowing them time to cool down at room temperature; three hours should be sufficient for this process before setting aside overnight in order to further harden during which time we can store away prepared supplies until our project resumes again later on next day. Finally once all steps are completed voila! Home made custom colored creations right outta your own kitchen – Enjoy!
Safety Tips Before Getting Started
Making candles at home with crayons can be an enjoyable and creative activity, but it is important to take certain safety precautions before beginning. It is essential to find a well-ventilated area and be sure to keep the area clear of any flammable objects. Crayons are made of wax, which melts quite easily and gives off fumes that can be hazardous if enough is accumulates in a confined space. When melting the crayon wax, make sure to use a double boiler or small electric heated pot to reduce the risk of burns. Additionally, avoid reaching into hot melt pots or exposing bare skin directly onto flames to prevent scalding or fires. Finally, you should always have a fire extinguisher nearby in case there are any sparks or small flames created from the process.
Materials Needed forMaking Candles
Making candles at home with crayons is a great way to get creative and make fun decorations for the home. To start, you’ll need a few materials including: Crayons – Choose any color crayons you like! Candle wick – You want to make sure that your wick has been cut to the appropriate length for the size of your mold. Candle Mold – This can be any size or shape that you’d like. A microwave-safe measuring cup is perfect for beginners because it won’t require cutting a hole in the bottom. Wax chips – These can be found at most craft stores and come in various colors and scents. Melting pot – This can either be an electric double broiler or a makeshift pot on your stove top with some water in it. Heat source – You can use a candle warmer or just heat from your stove top depending on what kind of melting pot you use. Safety items – Always make sure to wear protective gloves when handling hot wax, as well as safety goggles in case of splatter. Also, have an extinguisher close by in case an open flame is used near the melting pot. This will ensure that your candle making experience is safe and smooth!
Step-by-Step Instructions for Crafting Candles with Crayons
1. Gather your supplies: Crayons, wax, a pot for melting the wax, an old discarded container to serve as the candle mold (e.g., an empty yogurt cup), and a wick.
2. In the pot for melting wax over medium heat, add in your crayons or leftover pieces of wax until you reach the desired amount. Stir intermittently as it melts.
3. Secure the wick inside of your container before pouring in melted wax mixture. Allow to cool until solidified.
4. Trim off any excess wick that is longer than desired and voila! You now have a homemade, colorful candle crafted with crayons!
5. If you desire different colored swirls in the candle layers, add another color of crayon while still keeping stirring until fully combined and melted down into the wax; allow to cool once again and then trim off excess wick if needed once completely hardened again.
Creative Ideas and Projects to Transform Your Candle Making
Creating candles at home with crayons is a fun, crafty project that even children can participate in. It is inexpensive to set up and can yield beautiful and unique results. To get started, you will need some basic materials – crayons, a container for the melted wax, wicks, and something to melt the wax (a stovetop or heat gun). Once these items are gathered, you are ready to begin! The main steps of this project include melting the crayons into liquid wax, pouring it into the candle container, adding the appropriate sized wick, and allowing your masterpiece to
Handy Tips and Techniques to Fine-tune Your Candle Creations
Using crayons to make candles is an easy and fun way to spruce up your home. By melting down crayons in a mug or bowl, you can create unique and colorful candles that are sure to liven up any room. Here are some tips and techniques for the best chance of success with your homemade candle creations:
1.When selecting the crayon colors, try different combinations until you find one that you like. The final result may surprise you!
2.Before you start melting down the crayons, it’s a good idea to line the container with parchment paper as this will make it easier to remove the finished product once it has cooled.
3.Choose a container that is preferably larger than what you think you’ll need so that when the wax melts it has enough room to expand without overflowing the container.
4.Slowly melt down the crayons over low heat, stirring occasionally with a spoon or popsicle stick. Burning them directly on a flame could cause them to produce toxic chemicals, so avoid this by using low heat instead.
5.If desired, add fragrance oils or essential oils for a more pleasant smell when burning your candle at home! A few drops should be all you need.
6.Pour melted wax into wax molds or small containers ” just remember that you must use containers made of metal or glass since plastic will melt when exposed to high temperatures! Allow wax to cool completely before removing from mold and trim wick as needed (you can purchase wick separately).
By following these handy tips and techniques, you’ll have no problem turning ordinary crayons into incredible candles perfect for any occasion! Be creative ” there are so many possibilities!
Different Type of Candle Wicks to Use
When working with candles, one of the essential components is the wick. The type of wick you use can make a big difference in your overall results and affect the burning time as well as the intensity of the flame. When making candles at home with crayons, it is important to select a wick that will properly support your candle-making goals.
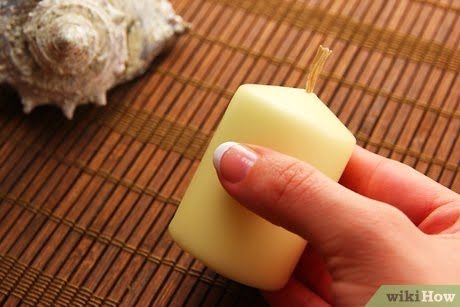
For pillar candles, long and sturdy cotton or hemp wicks are typically recommended. These provide more stability and thus help to keep your fire burning brighter for longer periods of time. Wooden wicks, which are made of thin strips of combustible material such as cedar or birch, can also be used in pillar candles but they must be in an upright position, meaning you should never light them when lying flat on the surface.
Tealight candles are better suited to using prewaxed wicks made of paper or cotton. These usually come as a single coil under the wax, so they don’t require any additional preparation before burning. Beeswax prewaxed wicks can also work if your tealight is big enough for them to fit properly”otherwise they may not ignite correctly or provide enough heat for proper combustion.
For jar candles, a multi-ply paper or cotton braid works best for achieving even burns and avoiding smoking issues due to overheating. This type has been treated with special chemicals during its manufacturing process so that it better absorbs wax for an even burn every time. Specifically designed candle-making kits include these types of pre-made coreless (unbleached) braid strands already cut into pieces and ready to use in jars up to three inches tall.
Conclusion
Making candles at home with crayons is an enjoyable and therapeutic craft. With a few simple ingredients, you can create colorful and unique candles in a matter of hours. This is a great pastime for those interested in getting creative with their projects. Have fun selecting colors and experimenting with different textures to personalize your creations to reflect your own style. Design your crayon candle for display or for burning, either way, it’s sure to be conversation piece. Crayon candles are also the perfect gift idea! Give them as birthday presents, house-warming gifts or just because surprises; they’re sure to light up anyone’s day! So grab some wax, crayons and supplies and unleash your creative spirit ” enjoy crafting beautiful and memorable candles with crayons!

Welcome to my candle making blog! In this blog, I will be sharing my tips and tricks for making candles. I will also be sharing some of my favorite recipes.


