Making candles in the microwave can be a fun and affordable way to create custom scented items. Candles made in the microwave can also be used to decorate different rooms and as gifts. With a little time, effort, and imagination anyone can make unique candles that are sure to please.
The steps required for making a candle in the microwave are simple; once you have gathered all of your materials it’s just a matter of measuring and melting the wax. You’ll need wax pellets, essential oils, wicks, containers or molds, food thermometer, spoon or stirrer and gloves when handling hot wax. First you’ll need heat safe containers or molds to pour your melted wax into.
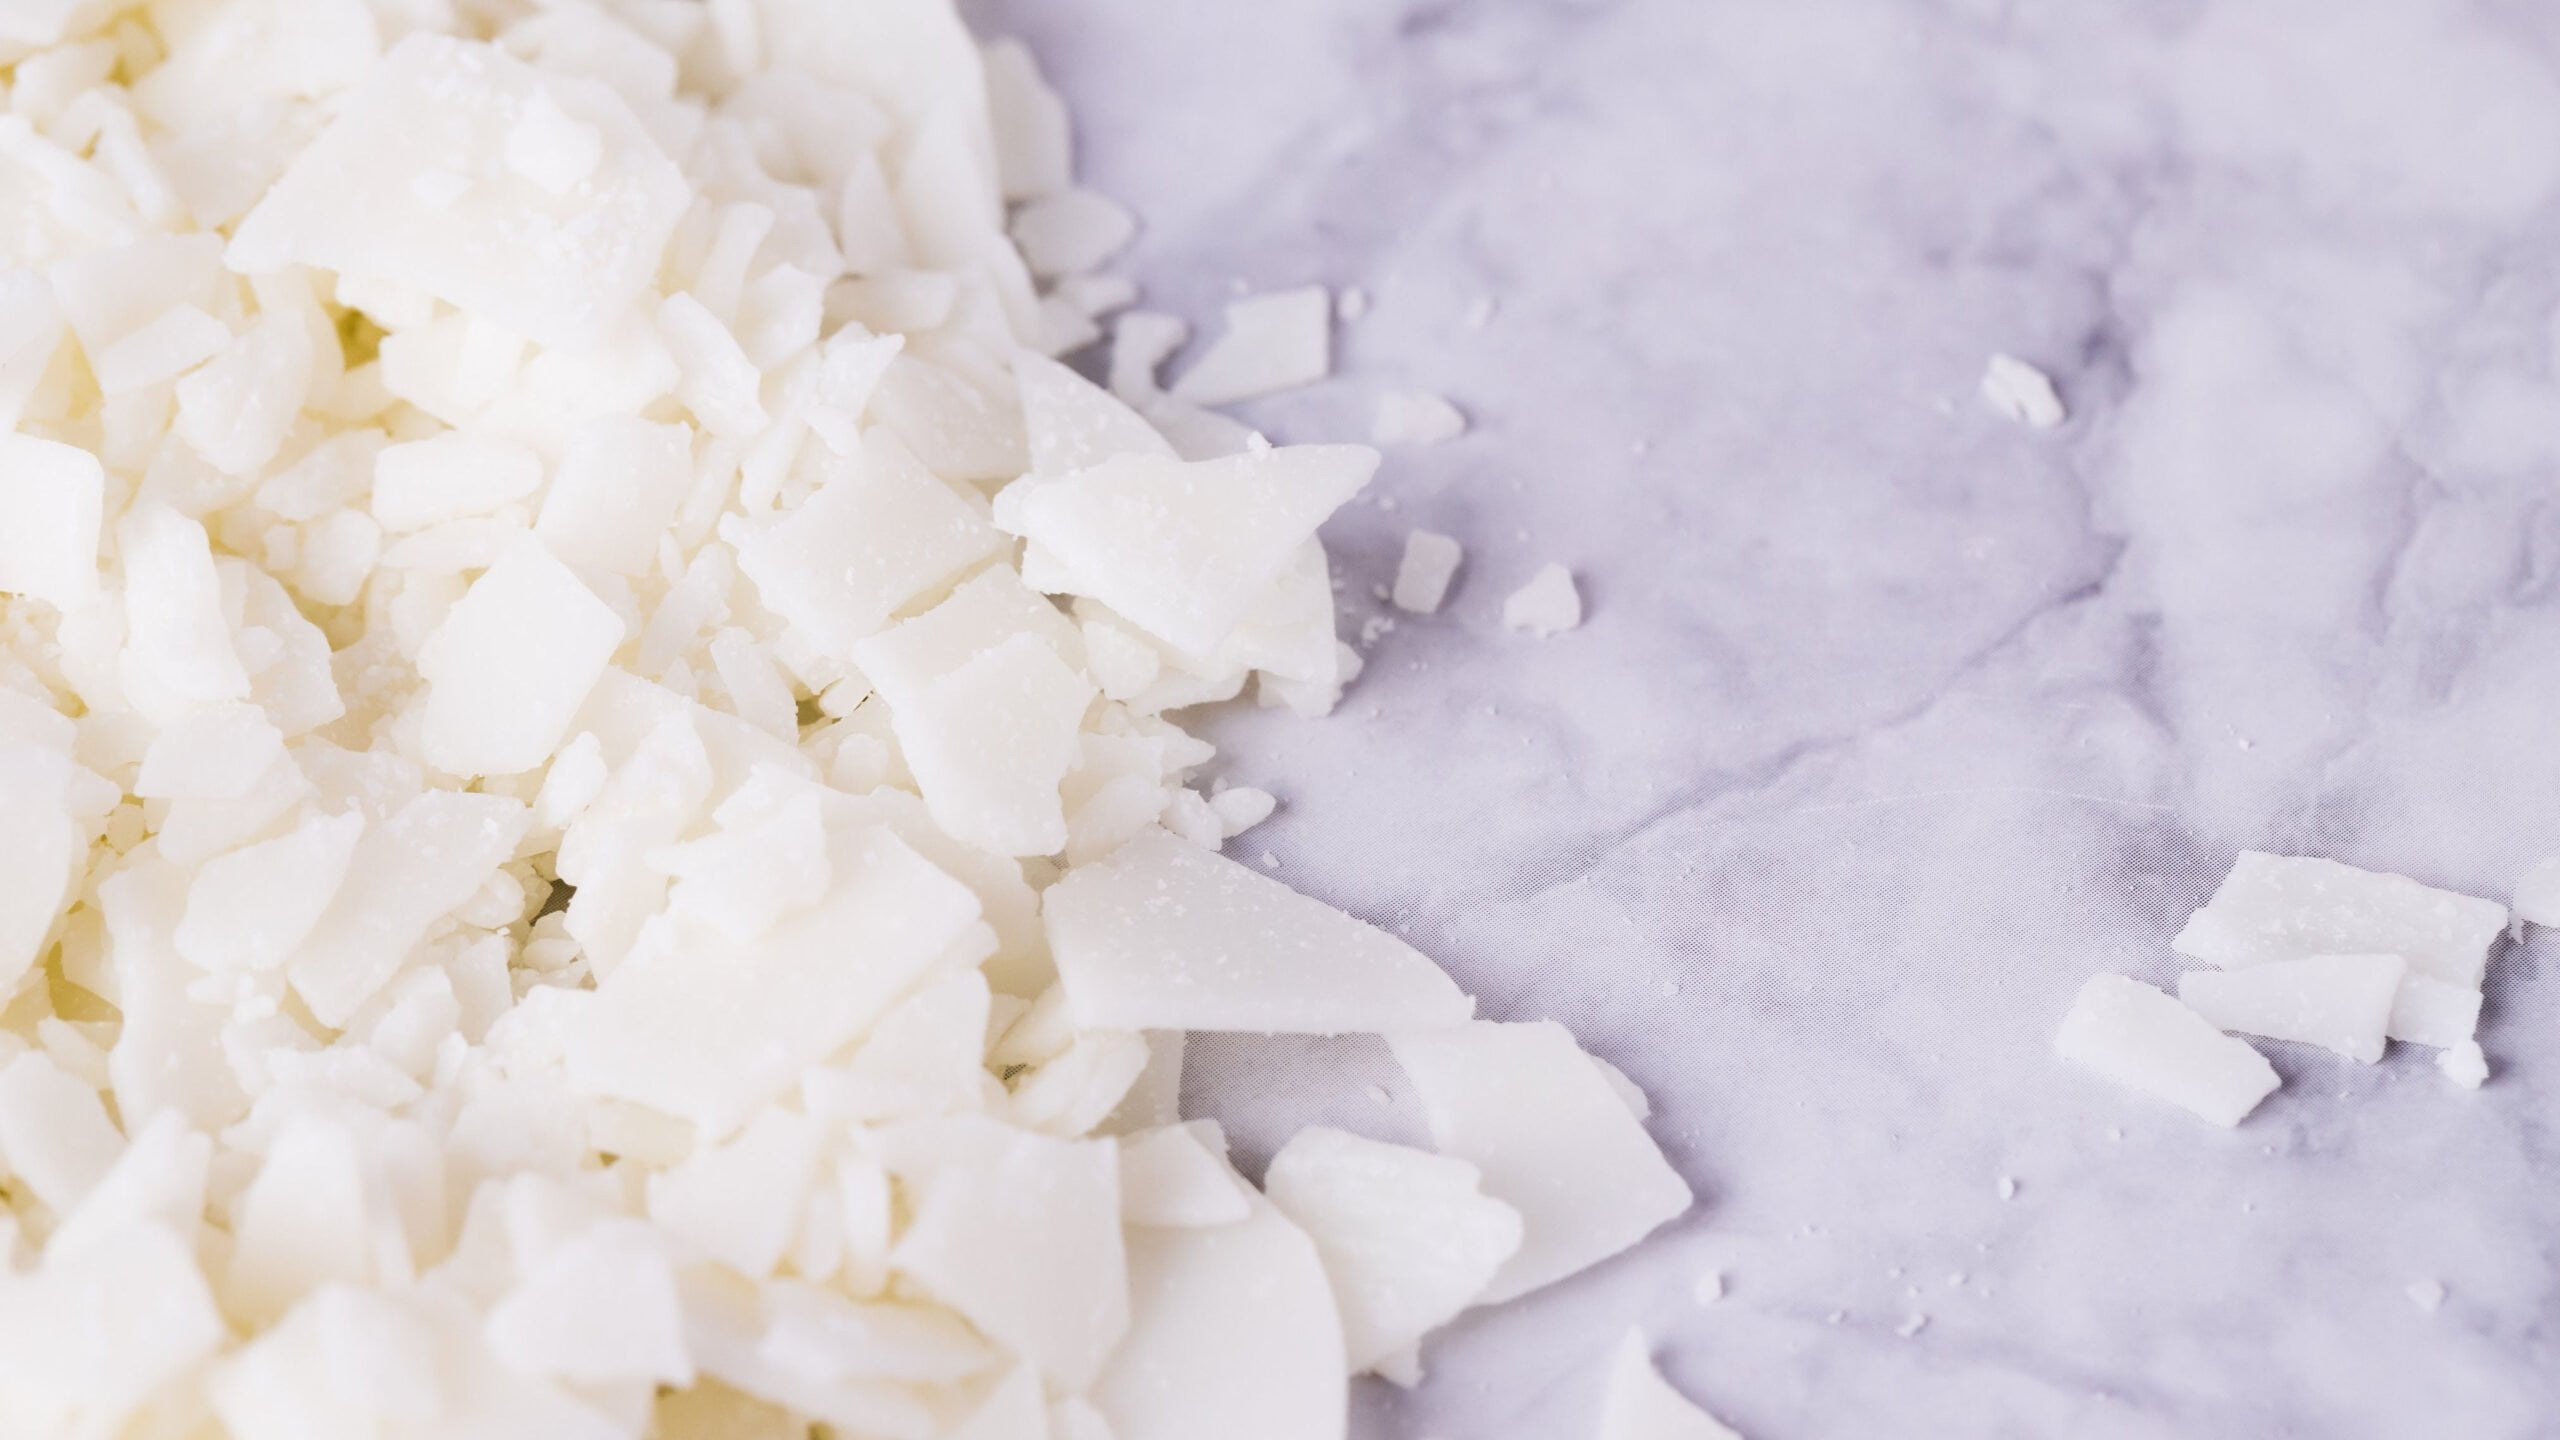
It’s important to only use glass containers or silicone molds as plastic ones may melt. Next you’ll want to add about two dollars worth of wax pellets into your container which will usually make two small votive size candles at once.
Once your container is filled with wax pellets you can heat them up for three minutes on high in the microwave stirring intermittently every 30 seconds until they reach a temperature of 180-190 degrees Fahrenheit on your food thermometer. Once it reaches this temperature remove from the microwave and add any favorite essential oils for scenting purposes.
Stir gently so not too much air is added then carefully insert each wick into its specified place making sure they aren’t crooked then allow it cool overnight before using or giving away as a gift.
To get decorative swirls and patterns on each candle try adding several drops of colorant mixed with essential oil into wax after its been heated but before adding wicks. The possibilities are endless when it comes to making candles in the microwave. Have fun experimenting with different scents, colors, decorations and textures to create whimsical works of art that will surely dazzle everyone.
Creative Candlemaking Options – Materials for Unique Designs
Candle making in the microwave is a fun and creative way to customize your own unique candles. Making candles can be an entertaining activity, and it is easy to do once you have the right supplies. Here are some materials and tools that you will need for making candles in the microwave:
- Wax – Some waxes that work well are soy, beeswax, paraffin blend, gel.
- Mold – These are available in a variety of sizes and shapes and should be microwave safe.
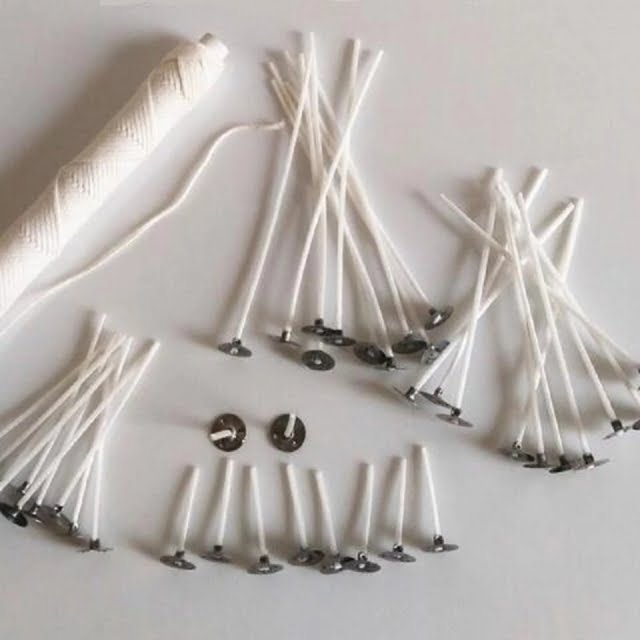
- Wick – This is sold pre-tabbed or can be made from cotton string.
- Fragrance – This is optional but adds a nice touch to your candle.
- Dye – Liquid dye formulated for candle making works best.
– Used to create barriers between colors in a layered candle.
You will also need a few essential tools for creating your beautiful candles such as:
- Microwave
- ipette>ipette > – Used to add dye in precise amounts, this tool can also act as an eye dropper when making poured candles.
– A device used to quickly melt the wax such as double boiler or earthenware bowl on top of stove. – An accurate thermometer will help determine molten temperatures required for specific waxes.
Preparing the wick is critical before starting. Be sure it is 4-6 inches longer than desired finished length. Tie a metal washer or nut (not plastic) 1/4 inch from the tab end.
Place over an empty container that had a circumference of at least 6 inches larger than ended candle size which will act like a guidance frame when inserting it into mold. With all the supplies gathered you can now begin microwaving and make crafting your unique candles fun and easy.
Candle Preparation Procedure
Making candles in the microwave is a popular craft and is quite easy to do. It doesn’t require too many ingredients or any prior experience, making it an ideal activity for adults and children alike. The process begins with gathering up the necessary items.
You will need a microwave-safe bracket or cupcake pan, wick, candle wax, dye chips, essential oils (if desired), a metal spoon, and a thermometer. Once all of these items are together you can begin making your candle.
The first step is to break off pieces of wax and put them into the pan until it’s about halfway full. If you’re adding dye chips, put some into the melted wax before setting aside the pan so that they have time to melt evenly.
Once melted, use a thermometer to check the temperature of the wax which should be around 140°F at this time. Be sure not to let it get hotter than 180°F as this can cause it to harden quickly.
Once your melting process is done, add any essential oils if desired for scent then stir with your metal spoon for even distribution of scent through out your mixture. After this take your pre-cut wick and secure in place ensuring it’s centered with your metal spoon handle before pouring carefully pour your mixture into candle mold or container you will be using as a candles base form.
Make sure to leave roughly two centimeters at the top so when it cools down there’s still space left for burning purposes later on. Finally, keep an eye on the wax while it cools down, stirring gently every few minutes so your mixtures stays smooth as air bubbles may arise from underneath.
Once cooled fully firm up remove set aside till needed Making candles in the microwave can be done safely following these steps. It’s an enjoyable activity that doesn’t take long and has rewarding results that can either decorate or brighten up someone special’s day. As long as proper safety measures are taken during each step then enjoy making beautiful scented creations.
Step-by-Step Guide to Making Candles In Microwave
Choose a Microwave-Safe Container
The container you choose needs to be big enough to fit the size and shape of your desired candle, and it also must be microwave safe. Ensure that the container is made of heat resistant glass or ceramic, as metals can get too hot for the microwaves. Additionally, if your container has any metal elements on it (such as handles), make sure to remove them before microwaving.
Gather Supplies
Once you have chosen a suitable container for making candles in the microwave, it is time to gather all the relevant materials:
- Wax pellets
- Essential oil (choose your favorite scent)
- Candle wicks and stickers
- Metal bowl (for double boiling)
Prepare Wax Pellets
The first step toward making a candle in the microwave is to prepare your wax pellets. Begin by pouring several tablespoons of wax pellets into a metal bowl and then slowly melt them in boiling water by using what is known as the “double boiler” technique. If necessary, add an extra teaspoon of essential oils while mixing; this will increase fragrance strength in your finished product. Once melted together, take off heat and let cool until ready for use.
Attach Wick
Now that your wax pellet mixture has cooled down partially, you can start attaching the wick to the inside of your chosen container by using either glue dots or a tape measure as needed for stability. Make sure that your wick is secured firmly before continuing with the following steps.
Pour Wax Mixture Into Container
Now it’s time to pour. Slowly fill up your chosen container with melted wax mixture until it almost reaches its brim-keep in mind, however, that you do not want to overfill your containers because doing so can cause bubbling when microwaving later on which may create uneven results during burning or extinguishment problems afterward.
Once done pouring carefully tap outside surface of container with spoon handle this will help release any trapped air bubbles in mixture giving pleasant smooth exterior surface finish for finished product Allow wax mixture cool inside container overnight; this will guarantee deep solid coloration without alteration burning pattern during usage afterwards.
Tips and Warnings for Safe Making
- Never leave a candle unattended or be too close while making it in the microwave.
- Always choose containers designed for candles, as they have higher melting points than regular dishes.
- Always use wick holders to keep the wicks upright in the container during melting
Making candles at home can be a fun and creative way to customize your home decor. One of the simplest ways to make candles is using wax melted in the microwave. When done correctly, this process takes very little time and can produce beautiful calm-colored results.
The first thing you’ll need is wax – there are several types of wax to choose from such as soy wax flakes, paraffin, beeswax or palm wax. You will also need some essential oils if desired for scenting, and some wicking material that will soak up the melted wax.
A wick holder will also come in handy to keep the wicks upright during melting. Finally you will need some glass containers or heat-resistant tins that have been carefully cleaned before use.
To begin melting your ingredients in the microwave, use small increments of time without letting everything fully melt at once as you risk overheating it. Place each ingredient separately into the container but don’t add any colorants until about two thirds into the melting process as they can also burn easily due to their low boiling point.
Once all ingredients are thoroughly mixed together, pour out your liquid mixture and allow it to cool completely before attaching wicks to it.
Make sure they are securely secured with a strong adhesive like hot glue so that they will stay positioned when drying out completely Once cooled properly cut off any excess wick using scissors then position your new candle back into its container and let cure for an additional 24 hours in a flat area without any kind of disturbance or draft. After this step each candle should easily last up to several weeks before needing replenishing candle material again.
Easy Troubleshooting Methods for Common Mistakes
Not Achieving Desired Color
One of the most common mistakes when making candles in the microwave is not achieving the desired color. This is often due to using too low a temperature setting, or using wax that has not been mixed in for long enough. To troubleshoot this issue, try increasing the melting time by 30-second intervals and stirring in between each one to ensure an even melt.
If the wax is still not melting sufficiently, increase the power setting on your microwave by one increment at a time. Additionally, you may need to add more dye to your melted wax in order to achieve your desired color or try adding wax tints or additives such as mica powder for extra depth of color.
Wicks Burn Out Too Quickly
Another common mistake when making candles with microwaves is having wicks that burn out too quickly. Depending on the size of your candle and type of wick used, this can be due to a few main causes. The most common cause is using a wick material that is too thin for the size container used; choose something with a higher thickness next time for better stability while burning the candle.
You could also have chosen a fragrant liquid that contains fats or heavy oils, which coat wicks and block oxygen from reaching them; if this is the case, scrape off any coating before lighting up. Lastly, it may be caused by foreign debris entering into your wax mixture during cooling; use appropriate filters during processing to prevent this from happening again.
Soft Wax & Poor Structure
When making candles in a microwave there are likely times where you come across soft wax and poor structure when finished. Inconsistencies in temperature control can lead to air pockets forming within the mixture resulting in degraded quality and structural integrity issues once cooled down.
To fix this issue make sure you work slowly during pouring and avoid disrupting any pockets that might already be present. After pouring allow plenty of cooling time before trimming/shaping your finished product as soft wax reacts quicker than harder wax varieties do to heat inducing tools like trimmers or blowers.
Stylish Design Ideas for Homemade Candles
Making candles at home is a fun and inexpensive way to create unique, beautiful additions for your home décor. Making candles in the microwave can be particularly satisfying as you don’t have to worry about soot or hot wax splattering around the kitchen.
For those of you interested in making your own candles in the microwave, there are a few essential tips that will ensure your success. Start by setting aside an hour or more to ensure that you have enough time to finish up and have success with your candle-making project.
You will need containers suitable for candles such as mason jars, glass tumblers, or metal cookie cutters (for smaller votives). Make sure these holders are heat resistant and that they have lids that fit securely to avoid any messes.
Gather some soy wax chips which melt very easily and tend to handle microwaving well. Also select some quality wicks from craft stores such as cotton or hemp wicks which are lead free and burn best when used with soy wax. Scented oils of various fragrances such as peppermint or lavender can also be added if desired for extra aromas when lit.
Once all the materials are gathered, it’s time to start creating. Use one part wax chips with two parts wick tabs and place them into the prepped holders before putting it into the microwave for no more than 3 minutes on medium level heat, stirring every 30 seconds so they don’t overheat the containers or burn during microwaving.
Once finished melting completely through stir the mixture again and add the oil if desired before pouring it into each holder slowly (be careful not to touch them until cooled off). Let this sit untreated by air flow until hardened then trim off any access wick before burning or displaying however you want.
Homemade candles made in the microwave are an easy way for candle makers of all levels of experience to add subtle décor to their homes while experimenting different scents and shapes of their creations. With just a few materials like soy wax chips, cotton wicks, heat resistant containers – and possibly scent oils – anyone can create gorgeous pieces perfect for gift giving, display decorating, or even self relaxation while lighting up cozy evenings at home.
Conclusion
The benefits of making candles in the microwave far outweigh other methods, as it’s a simple and convenient way to get started. It doesn’t require any tools or expensive equipment, just a few simple ingredients and about 10 minutes of your time. With this method, you can make custom scented candles that you won’t find in stores.
The best part? Because the wax is melted in the microwave, there is no mess. Whether you choose to make candles as gifts for friends and family or for yourself as part of home decor, making them in the microwave is an efficient choice.
In addition to convenience, making your own candles comes with some monetary savings. Many of the necessary ingredients are reusable – like wicks and fragrance oils – so you will actually save money over time when purchasing supplies.
Fragrance oils also last longer than essential oils while still adding great scent to your creations; meaning less frequent trips into the store saving both time and money. Not only that but with all the different colors waxes on the market you can create endless variations of candles for your collection in no time at all.
Making candles adds warmth to any room which also has great psychological benefits. Scent has been proven to relax us and aid concentration which makes homemade aromatic candles perfect for calming meditation rooms or yoga studios.
So while candle making may seem intimidating or overwhelming its not at all when choosing this DIY microwave method. With little effort you can dip your toe into this art form without having to commit a lot of time or resources; allowing for experimentation until you find out what works best for you.

Welcome to my candle making blog! In this blog, I will be sharing my tips and tricks for making candles. I will also be sharing some of my favorite recipes.


