Introduction
Decoupage is an art and craft form in which pictures and other designs are glued onto objects and sealed with varnish. Crafting candle holders with decoupage offers plenty of possibilities for creative decoration, as the objects can be personalized to match any style or occasion. Popular uses for decoupage include cakes, plaques, wooden trinket boxes, chairs, vases, picture frames and so much more.
The materials needed for decoupaging a candle holder are fairly simple: colorful paper images of your choosing (for example magazine cutouts or scrap-booking pages), Mod Podge glue, scissors or a craft knife, a paintbrush and sandpaper. You’ll also need the item you wish to decorate (in this case a candle holder), as well as a sheet of felt (optional) to add cushion between the sharp edges of the glass. If desired you may also want to add extra paint shades or glitter to aid in extra design techniques.
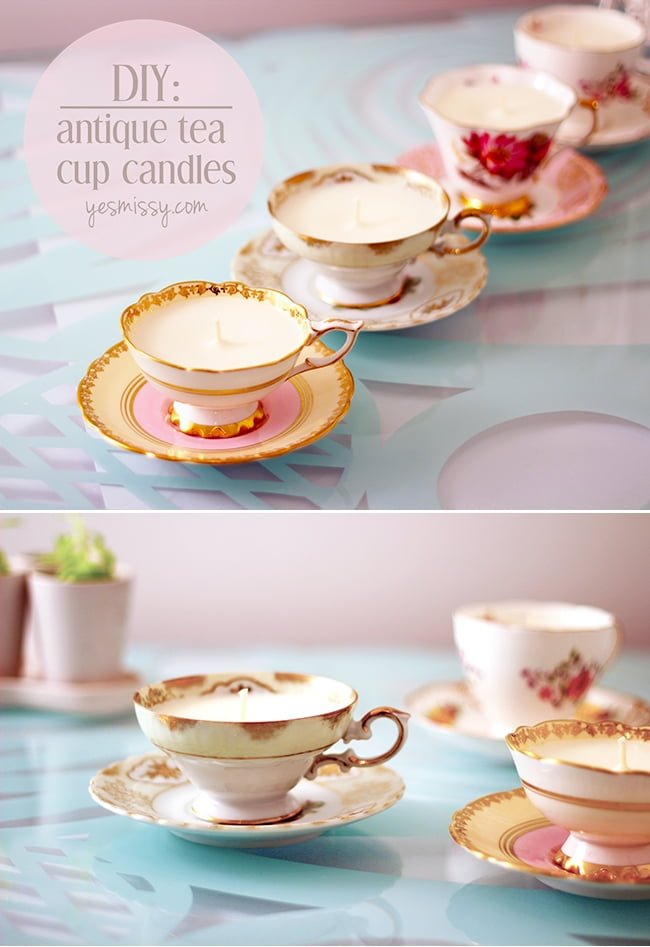
For those who don’t want to stick to strictly traditional candle holders there are many alternative items that can be used such as mugs and teacups. As they already have their own unique shapes and designs adding new images with decoupage can work just as beautifully on these items too! For family photo gifts why not try attaching photos directly onto plates? And if rooms need some special decorative touches consider crafting wall frames using scrapbooking paper or fabric cuts.
Materials and Tools Needed, with Links to Sources Where Possible
Materials:
1) Candle holder(s) – you can find inexpensive candle holders in many home decor and craft stores, or online through sites like Amazon or Etsy.
2) Decoupage glue – Mod Podge is a popular option. You can buy it at your local craft store, online retailer or through websites that specialize in decoupage crafting supplies.
3) Paper of your choice – you can use any type of paper that suits the look you are going for. Scrapbook paper, newsprint, photographs and tissue paper all work great for decoupage crafts.
4) Top coat sealant or clear varnish – this will give the finished project an extra layer of protection and add shine. Look for these at your local hardware or craft supply store, or online retailers like Amazon.
Tools:
1) Paintbrush(es) – use one that has soft bristles so it won’t damage the surface of your craft project as you work with it.
2) Sponge brush – this allows you to evenly distribute decoupage glue over the surface being applied. It is important to use a sponge brush when working with fabric projects such as candles since some fabrics may be prone to blemishes from a regular paintbrush bristles.
3) Scissors – these are used to cut paper into the desired shape and size for your candle holder design.
4) Pencil and ruler – if you plan on drawing shapes with pencil directly onto your paper before cutting them out, a good old-fashioned ruler is essential! This also helps keep edges straight and make sharp corners when needed.
Step-By-Step Visual Guide to Making Decoupage Candle Holders
1. Begin by gathering all of the supplies needed to make a decoupage candle holder: napkins, sealer, brush, scissors, craft glue and foam brush.
2. Cut the napkin into smaller pieces of the desired shapes and sizes for the design of the candle holder. For example, cut some pieces in circles or stars for a fun pattern.
3. Use the craft glue and foam brush to attach each piece to the candle holder that has been pre-painted with a base coat color of paint.
4. Once all napkin pieces have been glued on, it is time to add one more layer with a sealer spray or Modge Podge clear sealer to protect the paper material from tearing or fading as well as making it waterproof and flame-resistant if used outdoors in a votive candle holder.
5. Let the sealer dry completely before displaying your handmade candle holders!
Troubleshooting Tips for Decoupage Candle Making
Decoupage candle holders can be a lot of fun to make, but it can also be challenging. Here are some troubleshooting tips for making these unique and beautiful candle holders:
1. Be sure to use enough glue as you work with your decoupage material. This will help ensure that all of the pieces are correctly adhered to the candle holder.
2. Make sure to plan out the design before you start gluing things onto the holder, so that the final result looks neat and organized.
3. If your materials are wrinkling, try lightly pressing them with an iron while they are still wet with glue. This will help smooth out any wrinkles that may have occurred during handling or transportation of the items.
4. To ensure a finished look on your project, always do a couple coats of varnish when sealing and protecting materials in decoupage designs
5. To remove excess glue or dirt after completion of your project, dip a soft cloth in rubbing alcohol and gently rub over the surface until clean (Do not use too much pressure!)
Alternative Uses for Decoupage Candle Holders
Decoupage candle holders can also be used to make beautiful home decorations like picture frames, vases, pottery and more. You can paint your decoupage pieces with various colors, patterns, and textures for a more unique look. Decoupage candle holders would also make great gifts for friends and family. You could personalize the gift with custom designs or images that are meaningful and special to you and the person you are giving it to. Decoupaged candle holders would also look great placed in strategic places around a room for an extra pop of color or texture. Plus, decoupage is a relatively easy craft compared to other skilled artisan crafts. With little effort, one can create stunning art pieces and functional home decor items out of just some glue, paper, paint and imagination!
Conclusion
Creating a beautiful candle holder through decoupage was a gratifying and rewarding experience. I learned the basics of decoupage which included preparing the surface, creating and cutting out designs, applying the napkin design to the surface, painting the background color, and finishing with varnish for a protective layer.
Overall this project was an educational one as well as an enjoyable one. Through this project, I have gained more knowledge on how to use different techniques in my crafting projects. Additionally, I now also have a unique piece of art that I can proudly say I created myself or give as a special handmade gift.
If you would like to learn more about crafting with decoupage then there are several resources available online such as articles, instructional videos and tutorials from experts in the field. You can also visit your local craft store to find supplies needed for this project such as different kinds of napkins, decorative items/accents and tools such as scissors and glue. With instruction and practice you will be able to pursue more complicated projects with greater success than ever before.

Welcome to my candle making blog! In this blog, I will be sharing my tips and tricks for making candles. I will also be sharing some of my favorite recipes.

