Making soy wax container candles can be a very rewarding experience, as they offer an amazing aroma and come with some other great benefits as well. Soy wax candles have become increasingly popular in recent years, due to their natural properties and advantages over traditional paraffin wax. To create your own soy wax container candles, you will need materials such as the appropriate type of soy wax, molds or containers, wicks, adhesives, and fragrances or essential oils.
Benefits of Soy Wax Container Candles The main benefit of opting for soy wax when making container candles is that it is biodegradable and renewable. As a plant-based material derived from natural sources such as soy beans and vegetable oils, there are no petroleum byproducts found in this type of candle wax. Soybean oil is quickly replenished in nature, so using this type of material for candle making will help to reduce our impact on the environment.
Another great advantage of utilizing soy wax is its longevity; compared to paraffin candles, soy becomes more liquid at a lower temperature which helps them burn longer than their traditional counterpart. It also requires a much lower melting point than paraffin which makes it perfect for use in container candles once the wicks have been inserted.
The slower melt time also means that the flame won’t overpower the scent as much as with other types of vaporized oil options like those found in room sprays. This makes it ideal for creating scented candles that gently diffuse an aroma throughout the home or office space while providing a subtle visual ambiance from the delicately glowing flame.
Step-by-Step Guide to Making Soy Wax Container Candles
Creating soy wax container candles is an easy and fun way to make your own decorative candles. With the right supplies and a little bit of creativity, you can create wonderful scented soy wax candles that are both affordable and long-lasting compared to regular paraffin candles. Here are some essential steps to follow when making your own soy wax container candles:
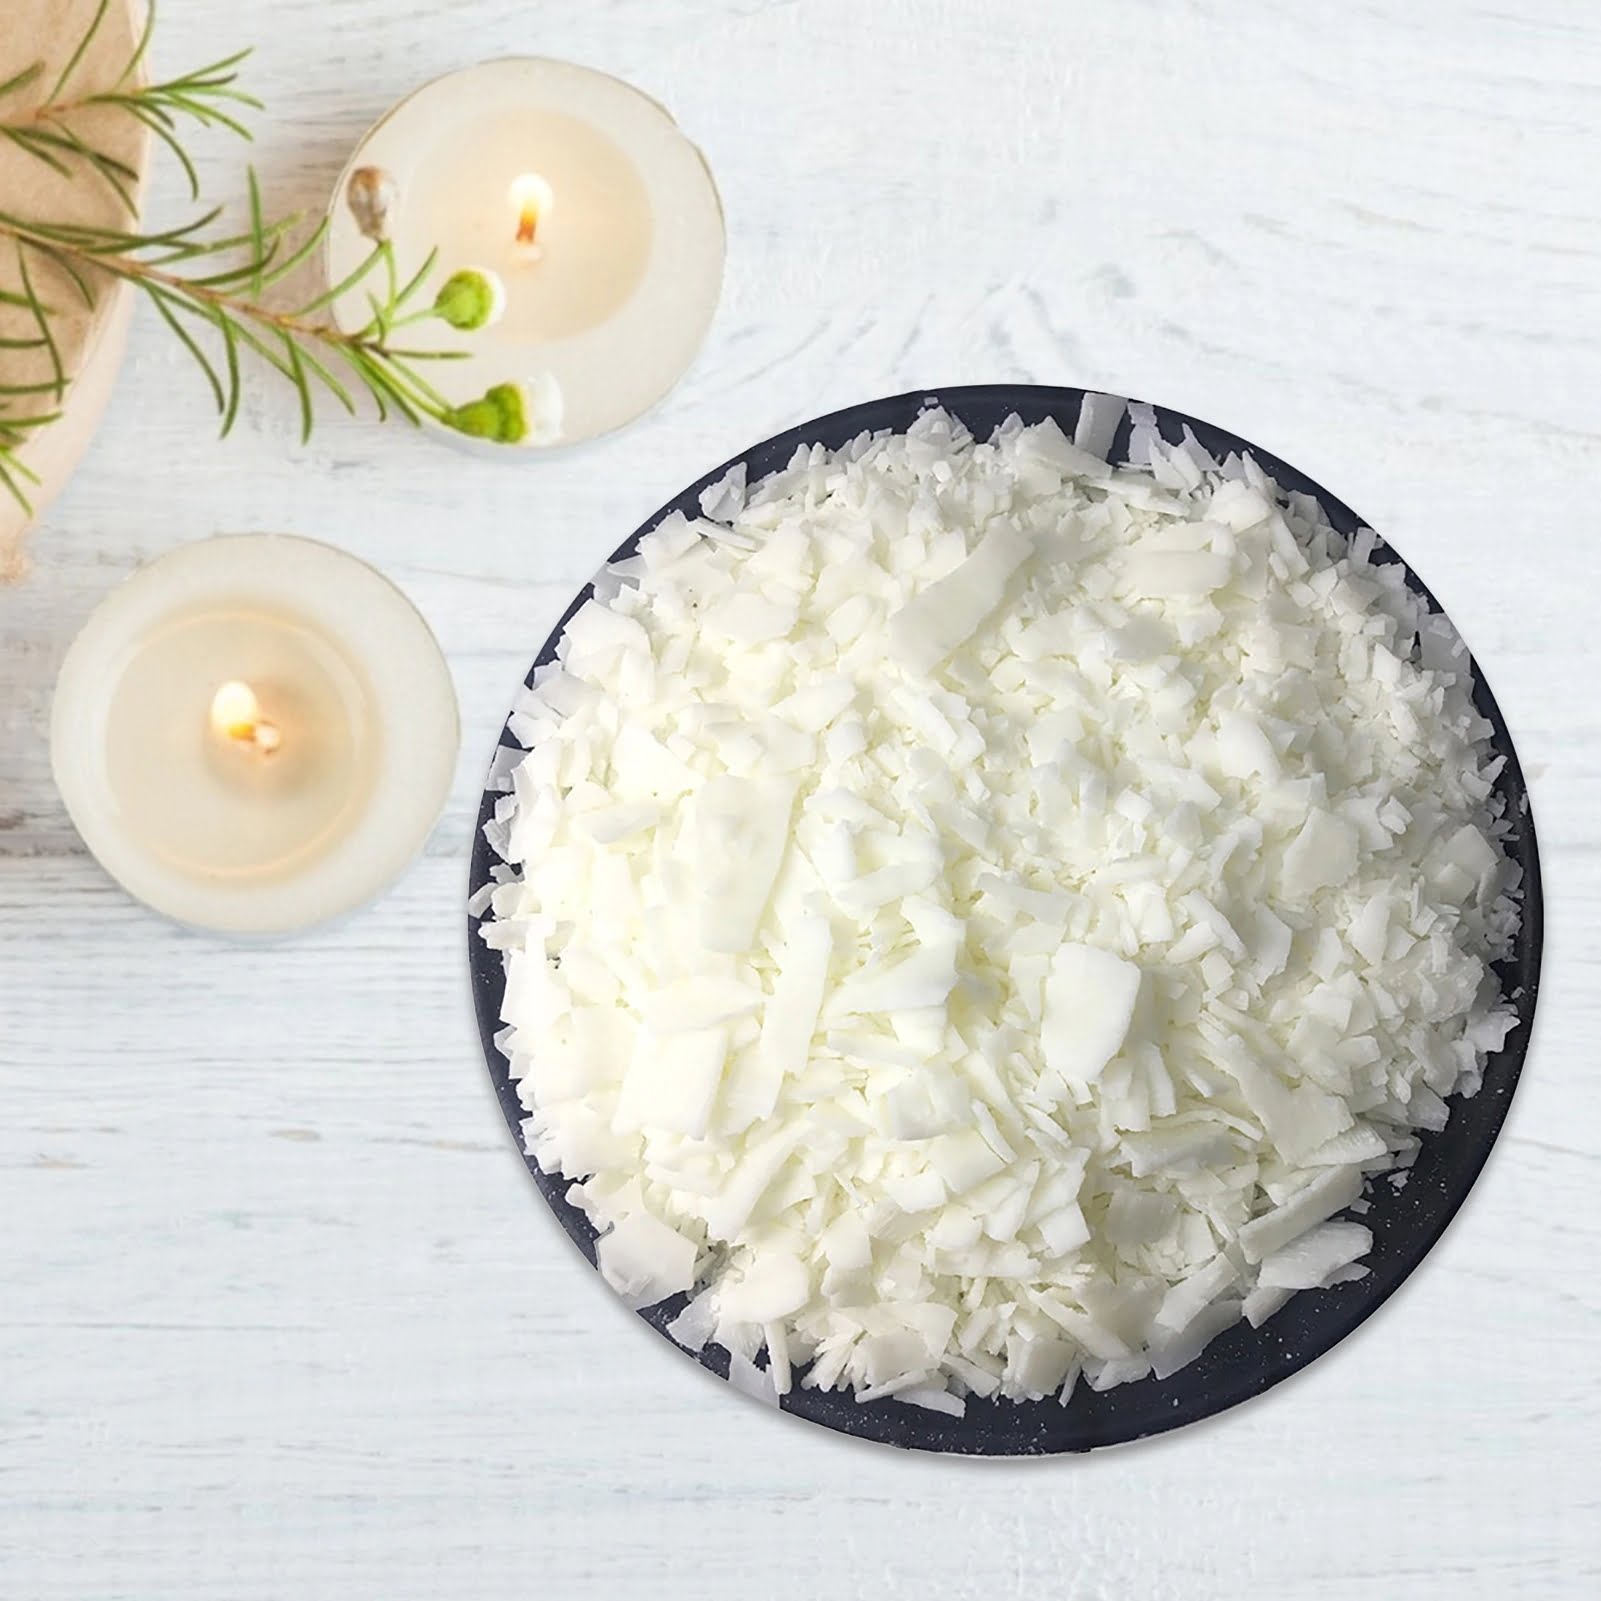
- Gather materials: You will need soy wax flakes, candle wicks, fragrance oil (if desired), dye (if desired), wick centering tools, chopsticks or rulers, mason jars or other containers for the candle, a double boiler with lid, thermometer and adults supervision as needed.
- Preparing the wick: You should flatten out the formed wick so it easily sits in the bottom of the jar. If you find that the wick is not centered properly in your jar then use a flat chopstick or ruler to press down on one side until it is straightened.
- Making the wax mixture: Fill a double boiler with water until 3/4 full and heat on medium heat. Add enough soy wax flakes so they make up at least 30% of total volume. Increase heat until temperature reaches 140 – 150 Fahrenheit then reduce heat to low-medium.
- Adding scent and coloring (optional): Once the mixture has reached optimum temperature, add 10-12 drops of fragrance oil per ounce (approximately 4 tsp) along with any liquid dyes (1 drop for every ounce). Stir mixture until blended completely then re-check temperature.
- Pouring into jars: When desired temperature has been reached, pour hot soy wax slowly into heated glass containers thoroughly coating container walls from top to bottom. Allow wax to cool for 24-28 hours before handling.
- Finishing touches: After 24-28 hours have passed you can remove any excess hardened wax from around top of container created by voids during cooling process with scissors or sharp knife.
Exploring the Different Types of Soy Wax Available
When creating your own container candles with soy wax, it is important to understand the different types of soy wax available. There are three main types of soy wax: fully hydrogenated, partially hydrogenated and hydrogenated blends. Fully hydrogenated soy wax is made from only fully-hydrogenated soybean oil that has been processed to produce a solid product.
Its slow melt point allows for larger candles and a longer burn time. Partially hydrogenated soybean oil meanwhile is s usually used as a base ingredient in candles that have added fragrances or colourants because it carries a strong scent and pigment well. Finally, there are mixed blend types using fully and partially hydrogenated oils together for best results.
Working with Soy Wax
Once you have chosen the type of soy wax you wish to work with, you can begin preparing your candles for melting. When working with any type of wax, safety should always be at the forefront of your mind; always use gloves when handling hot wax and use tongs or holders designed specifically for melting wax to prevent burns.
The most common method of melting candle-making wax is using double boilers; place your heated water in one pan and the desired amount of soy wax in another pan over it until melted. Allow this mixture to stand before starting any kind of pouring or pouring related tasks like creating decorations or filling tins or jars.
Fragrance Oils
The selection process of finding just the right fragrance oil for your creation can be exciting, overwhelming, confusing and emotional all at once – but ultimately rewarding. Fortunately these days you can find roughly 5 million scents on the market – though not all are officially listed as safe in aromatherapy circles so do take care when selecting an appropriate scent blend.
Generally speaking, start by adding between 3-5 ounces per pound (or 1-2ml per 10g)into the melted wax while stirring very well at a temperature no higher than 98°F (36°C). This should ensure that you won’t overheat any sensitive essential oils included in certain blends which will cause them to swiftly dissipate into nothingness before it’s time.
Preparing the Soy Wax before Use in Container Candle Making
Soy wax is an increasingly popular choice for candle making, combining an all-natural feel with a relatively easy to use, comparatively low-cost raw material. Preparing the soy wax is key to ensuring that your candles come out perfect and make sure that you get the best outcomes possible from your finished product.
The first step in progressing with the preparation of soy wax for your container candles is to determine exactly how much you will need for the job. This step requires knowledge of the size and shape of the container you plan to pour your melted wax into, as well as some basic maths.
Generally speaking, there should be enough wax added such that it fill two thirds of any vessel while leaving headspace at the top for wicks and other attachments. Once this figure has been determined, it’s time to calculate exactly how much soy air to buy or cut into small cubes (ensuring uniformity in size) for ease of melting later on.
Fusing Soy Wax Together
Once you have aggregated your desired quantity of soy wax ready for use, it must then be fused together into one large block so that it can be melted evenly when poured and reduce the risk of burning by preventing hotspots during the fuse process. To do this, place all cubes into a sturdy microwave-safe bowl or heatproof container that has sufficient volume so that none spills over its edges during fusing.
Then place in a microwave and melt based on settings specified on your label instructions (usually 1 – minute intervals). When almost done, stir every 30 seconds until all wax cubes have completely melted and fused together; however, avoid doing this step too often or vigorously as it could impair candle performance in terms of fragrance throw and burn capacity.
Mixing Fragrance Oils with Melted Soy Wax
Adding fragrance oil to finished candles is what gives them their unique smell and aroma; however, many experienced candle makers suggest not adding essential oils as these can often burn away quickly during fuse due to their chemical volatility structure meaning they evaporate very easily. Instead scented fragrances are preferred which are formulated specifically for candlemaking purposes.
Whilst still hot (as determined by tactile touch), inspect each batch closely before adding fragrance oil pre-diluted using high grade liquid coconut Wax Ester or Jojoba Oil depending on preference; adding only either one unless otherwise stated by supplier instructions. These diluters help absorb excess liquid produced by essential oils and generally allow better control over scent strength levels within individual finished products so always take care not to add too much.
Next stir thoroughly prior pouring in pouring vessel/holder; watch temperature also carefully ensuring never exceeding 100 °C whilst stirring furiously working continuously until fully integrated without making big lumps or visible bubbles forming which indicate incomplete fusion between oils & wax molecules.
Choosing the Ideal Container and Wick Size for Container Candles
container candles are the ideal choice for any home décor set-up. To ensure that the candle looks both attractive and burns properly, it’s essential to make sure you select the right size wick and container.
- Firstly, find an appropriately sized container for your wax.
- Select a wick which fits correctly in the container; don’t make the wick too long or short.
- It is important to use a container with as low of a width as possible so that heat does not escape easily.
When selecting an appropriate wick size for your soy wax candle, you should consider how much heat will be produced when the candle is lit. If you choose one that’s too small or narrow, it won’t produce enough heat to melt any of the wax and thus not properly light up as expected.
On the other hand, if too large of a wick is used then it will produce more heat than required and cause too much burn on the surface of the candle.
It is therefore important to identify an exact amount of heat that needs to be generated for proper burning time. This can be done by calculating the length in relation to width of container and whether it’s small or large. In general, larger diameter containers require thicker or bigger wicks whereas smaller containers should use thinner or small size wicks.
You may need to experiment with different sizes in order find what works best for your particular set up, taking into account specific properties such as melting point among others.
Once you have determined what size wick fits best, you must now prepare each element ready for pouring down your soy wax into moulded containers. You must ensure that all surfaces are clean before starting so no debris blocks your pour hole during filling process. Make sure that there are no creases on inner surface so none of molten wax gets blocked up while filling process take place.
It is also essential to ensure that maximum amount of air is allowed from all sides while our happens otherwise this can result in uneven burning when lit up later on. A drill bit can be used to create pour holes at desired locations around rim; these will aid airflow around our chamber ensuring even spread when lit up later on once cools off completely.
Enhancing the Aroma of Container Candles with Colorants and Fragrances
Making soy wax container candles provide a unique opportunity for creative expression, as they allow you to infuse your space with a beautiful scent and provide mood lighting in the process. However, achieving the best aroma from your candle is not as simple as adding some wax, cotton wick, and fragrance into a jar.
You can enrich the texture of your candle by adding colorants or even developing multiple layers with different fragrances in order to create complex sensory experiences. In order to reach full potential of making soy wax container candles, it is important to understand the different ways in which aromas can be infused.
One way to achieve an alluring scent with your candle is through the use of essential oils or fragrance oils. Since essential oils are extracted directly from plants, they can offer more targeted scents that seem more natural than their synthetic counterpart, making them ideal for certain products like massage candles.
Fragrance oils on the other hand are created synthetically from either single or multiple organic components; thus, obtaining romantic scents like lavender-vanilla blends or currents-cinnamon becomes much easier when using fragrance oils. In addition to using these types of oils, you can also invest in custom designed fragrances through suppliers that mix different compounds in order to create a unique and personalized product just for you.
When it comes to visual aspect of making soy wax container candles many choose designer colorants like liquid dyes in order add bold shades such as blueberry reds and lime greens that bring attention their uniqueness even when unlit. It should be noted that aside from creating aromatherapy candles free of any added chemicals most common food grade colorants should suffice; hence sparing yourself potential allergies due any extreme compounds present within specialized tints.
Using soy wax with a relatively low melt point makes for smoother pouring processes and assists it becoming friendly over time temperature rising and falling (i.e., melted at cool temperatures). Thus achieving rich chocolatey hues when combined properly with designer touche substances accomplish two goals; aesthetics plays its part while being true its burning nature turns into pleasing smokeless fires.
Pouring Soy Wax and Assembling the Container Candle
Pouring soy wax container candles may seem like a difficult and complex task. However, with few materials and some time, you can make beautiful homemade candles that are earth-friendly and economical. First, be sure to follow safety protocols when it comes to working with hot melted wax as it can cause severe burns if handled incorrectly. Make sure to start by setting up your space with the supplies needed to make the wax.
Place newspaper or wax paper down on any surface you will be using, as this makes for easier clean up afterward. Gather your containers of choice such as old jars, votives, or tealight cups.
Measure and melt the soy wax in a double boiler setup on low heat until it becomes clear in color and has completely melted. Also be sure to measure the correct amount of mica dyes according to the manufacturer’s specifications for desired candle colors, if desired.
Once the wax is melted, begin prepping your containers for assembly by placing wicks into each one so that they are centered and have some tension but remain flat at the base while standing straight upright. This ensures an even burn once lit. You can also use an adhesive wick tab at the bottom of each container that sticks directly to the bottom of the vessel which is an easier method if available.
Next add your fragrance oil directly into your container of melted soy wax with stirring stick and stir gently for about 20 seconds. Do not add anything else other than fragrance oil during this process as additives thicker than scent or foil will impact how well your candle performs once it dries.
Finally you are ready to proceed with assembling your candle. Pour equal amounts of melted soy wax into each container slowly making sure not move or divert your wick during pouring process; secure any wicks back in place after pouring if needed by touching tip softly down within jar with stirring stick. Allow candle containers approximately 1 hour before putting away in cool dry storage location; allow 24 hours before lighting them.
Congratulations. You have created beautiful eco-friendly soy candles that you can enjoy just about anywhere throughout.
Styling the Final Candle and Presentation Ideas
Making soy wax container candles can be surprisingly easy and straightforward. Many people find that making the candles can be both fun and relaxing. To get started, you need to determine if you will use pre-made containers or purchase moldable wax to make your own shapes.
You then need to choose a suitable scent, which could include essential oils, and mix it with your melted wax. Finally, you can scoop the mixture into your containers or molds and allow them to cool down before decorating. Now comes the exciting part – styling the final candle.
One way to style the finished product is by adding extra decorations such as dried flowers or glitter. For example, you could use ribbons of different colors or textures around the edges to create a unique look for each candle.
Another great idea is using stencils over glass containers to paint intricate designs onto the Candle’s surface for added visual charm. You could even choose to add a wick in different designs and sizes for more variation when burning them.
When getting ready to present your candles, there are multiple options that can emphasize their beauty even further. Neutral-toned tissue paper and twine are great ways of wrapping individual candles together in an elegant presentation while still allowing each one its own personality; floating them in water on trays decorated with petals or leaves works similarly elegant magic too.
Depending on how much personality shows through from any decorations used on each particular candle body, it’s also possible to group candles in larger decorative boxes featuring any range of fonts labels like ‘bouquets’, ‘fragrance gift’ or something simply stating ‘handmade’. The possibilities of personalization are endless.
By getting creative with your decorating ideas and researching packaging options for presenting them, your soy wax container candles will end up looking like they are straight out of a high-end store – proving just how easy and enjoyable it can be to make these DIY creations at home.

Welcome to my candle making blog! In this blog, I will be sharing my tips and tricks for making candles. I will also be sharing some of my favorite recipes.


