Introduction
Making candles with palm wax is becoming a popular choice for many crafters and home candle-makers due to its bright, clear appearance and its reliable burning properties. Palm wax is derived from the peels of elaeis guineensis fruit and it has a stiffer texture than other types of candle waxy, allowing it to hold intricate designs well. From animal shapes to flowers and more, palm wax can help you achieve beautiful designs for your handmade candles.
However, there are some drawbacks to making candles with palm wax such as the difficulty in obtaining it and its relatively high price compared to soy or paraffin waxes. Additionally, due to the harder nature of this type of wax, attempting to shape curvy or more delicate patterns can be difficult. Depending on how detailed you want your design, doing something like rolling in glitter or adding embossing may prove beneficial. Furthermore, extra care must be taken when pouring cooled liquid wax into containers due to its thicker consistency which may cause cracking. Keeping an eye on wick placement is also important as this type of wax produces higher amounts of smoke compared to other options available on the market.
What is Palm Wax?
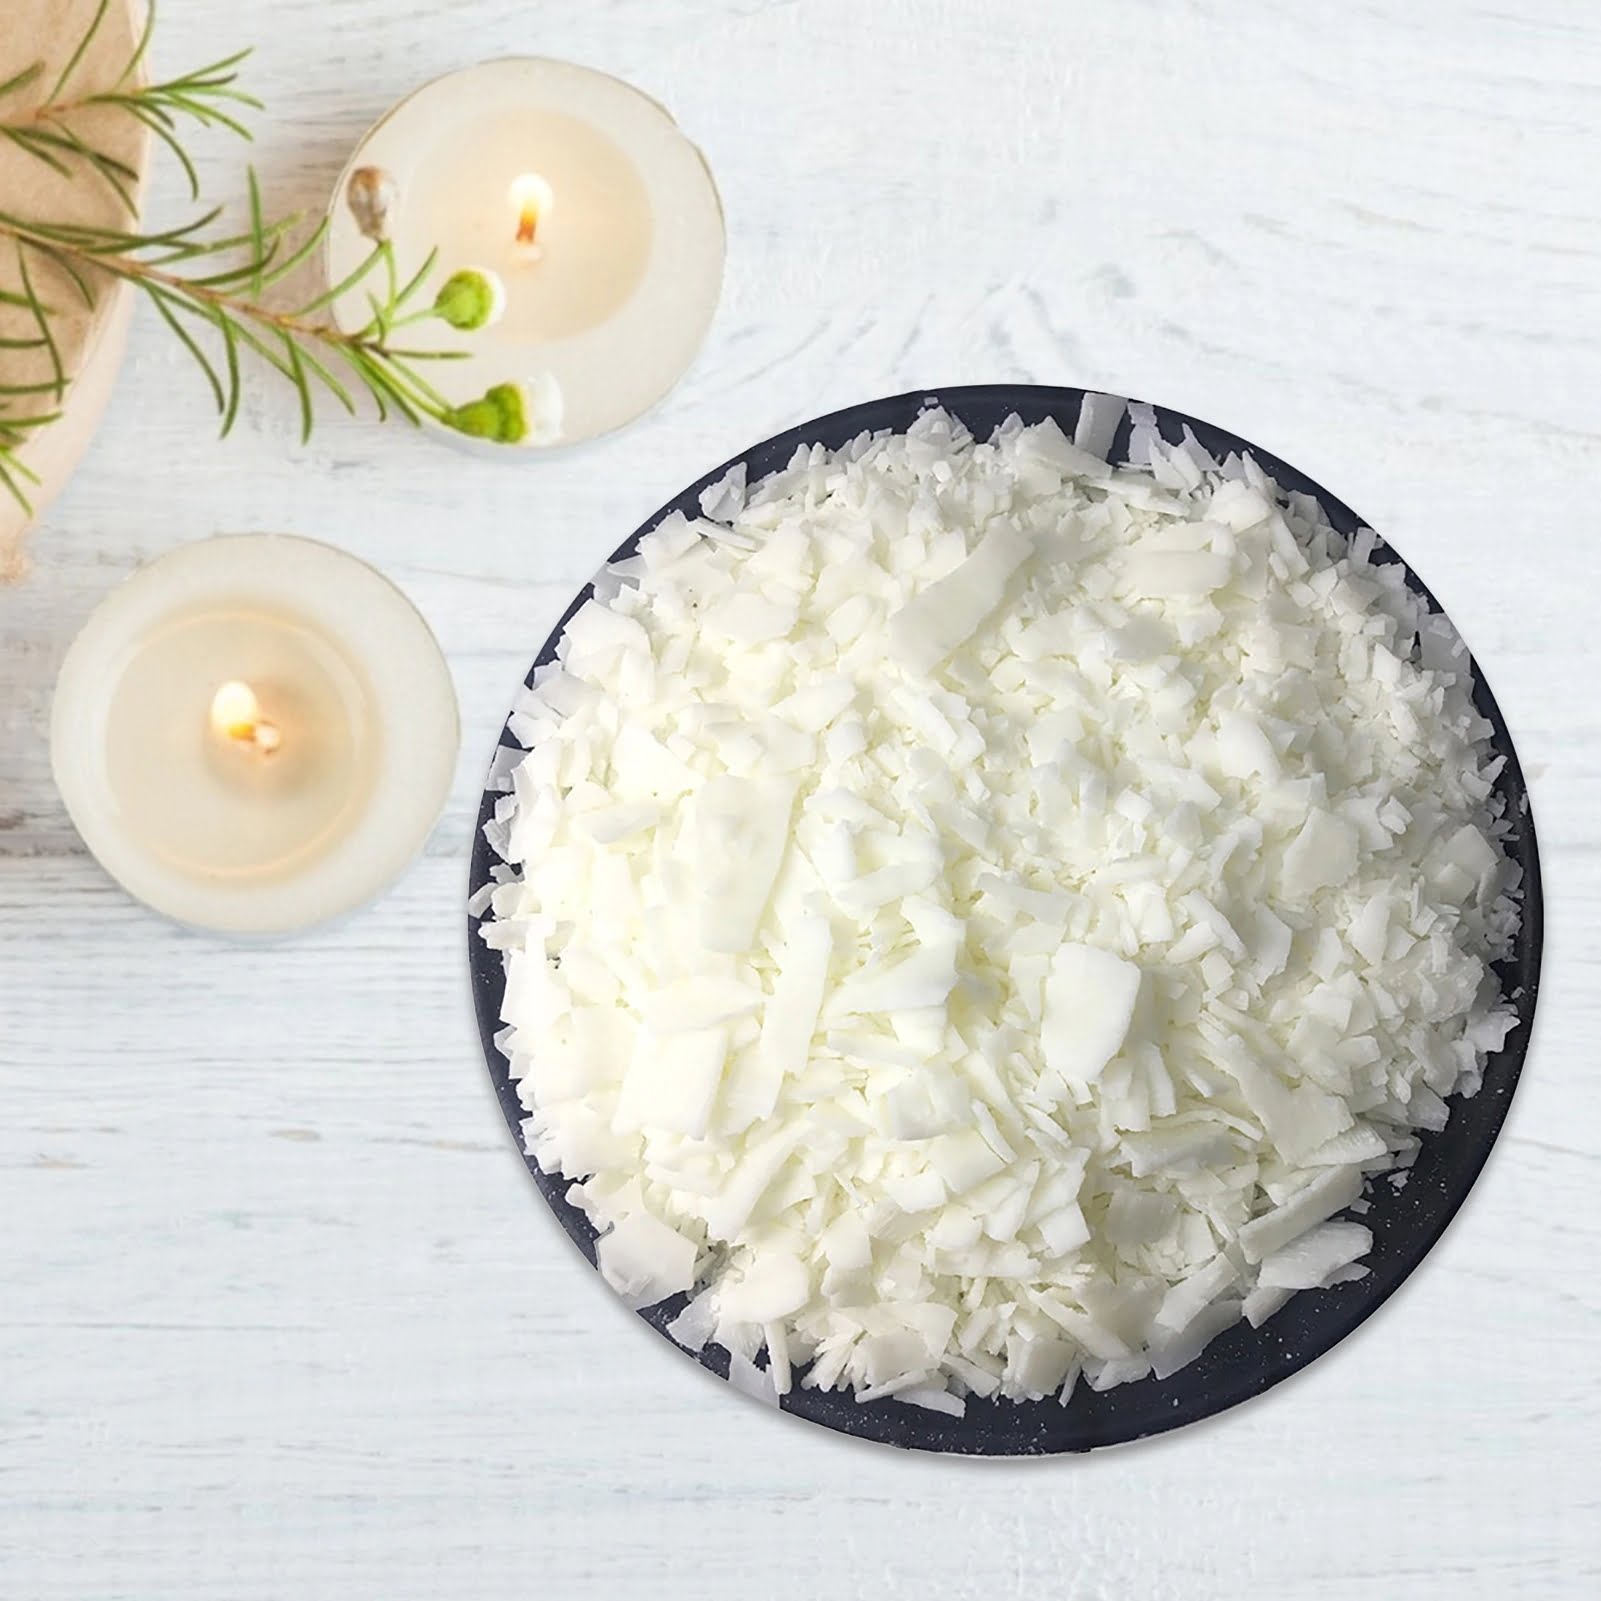
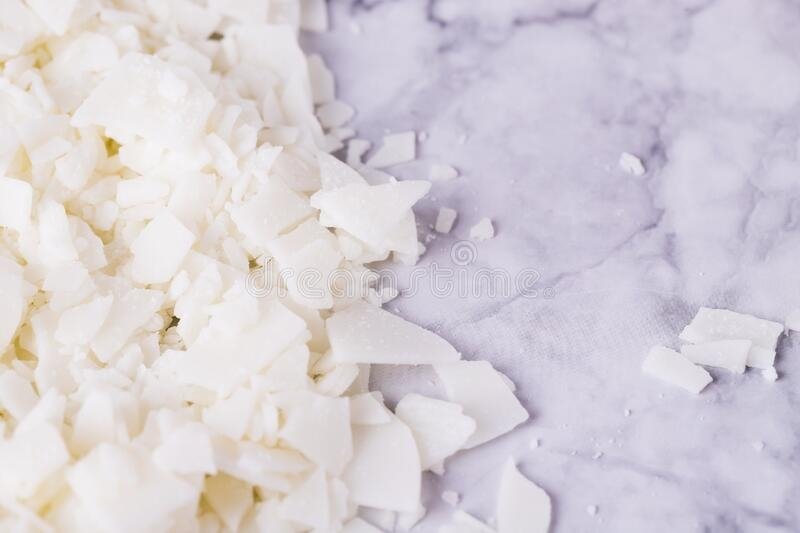
Palm wax is a type of natural wax that is derived from the fatty esters of the fruit and vegetable oil of the palm tree species. Depending on where it’s sourced, palm wax can be derived from a range of types, including coconut oil, or by products such as shea butter or red palm oil. This wax tends to be somewhat difficult to work with due to its unique texture, which includes a crumbly texture similar to paraffin wax, but it also has some excellent benefits.
Palm wax is becoming more popular for many reasons and is widely admired because it allows for easier working temperatures at about 120°F (49°C). It also offers a sparkling finish with cracks that appear as the candle cools. Although this makes it slightly harder to get smooth sides when making candles, it adds an interesting and distinctive look after they are finished. This wax is also quite durable compared to other choices due to its higher melting point and resists water damage although not 100%.
Additionally, palwax has maximum pliability meaning you can mold it into any shape you wish, as well as being particularly appealing in terms of both color and design potential! Aside from these advantages one of its other key selling points is that it’s far more environmentally friendly than many alternatives in comparison – delivering reduced carbon dioxide emissions as well as little or no chemical runoff or volatile organic compounds into our atmosphere.
Preparing Your Workspace
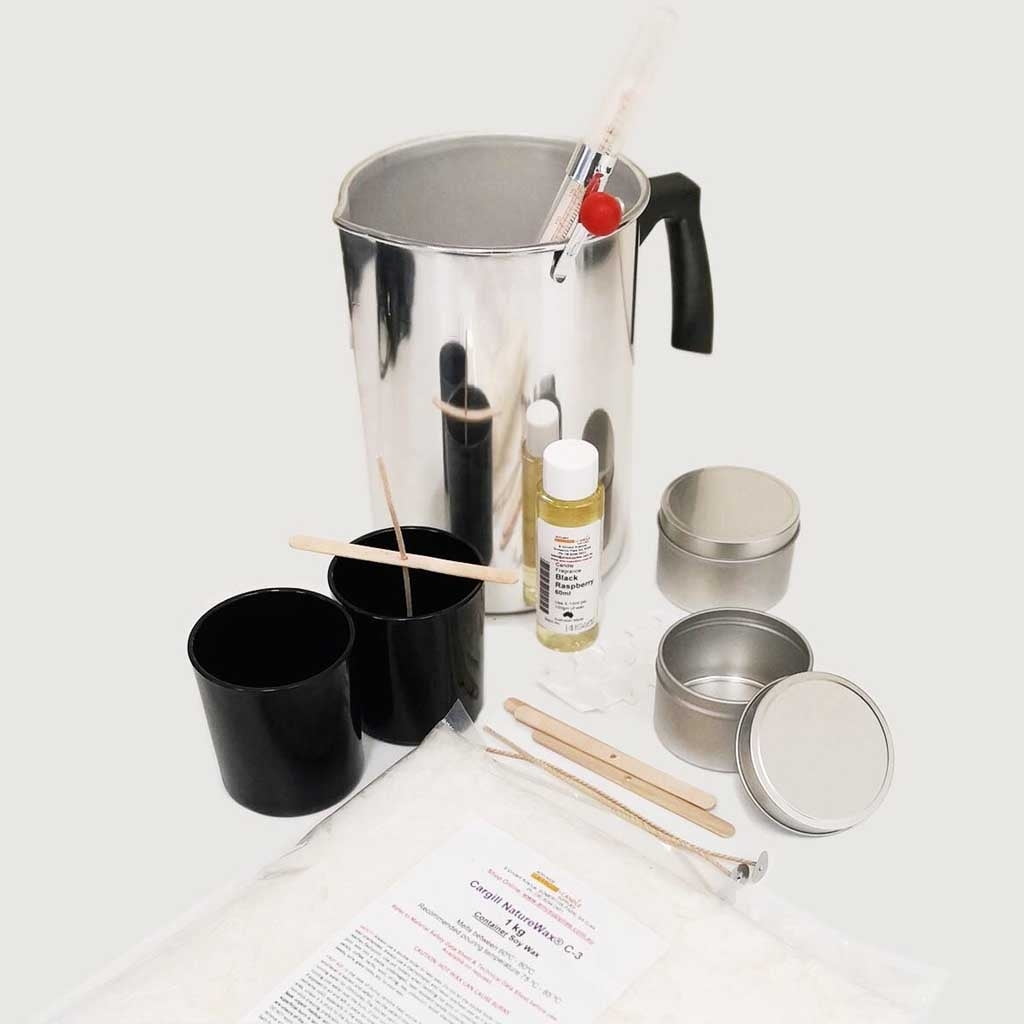
Gather Supplies: To begin making container candles with palm wax, you will need to gather the following supplies: beeswax, palm wax, wicks, glass containers of your desired size and shape, double boiler or slow cooker (depending on your method of melting wax), thermometer, ruler, scissors, and safety equipment (i.e. heat-proof gloves).
Set Up Materials: Once you have gathered all of the materials needed for your project, you can set up your workspace. Place the glass containers on a secure surface that is covered with newspapers for easy clean up (optional). Also place the wicks in their respective jars. If available to you arrange the wicks in a centering bar for easy positioning.
Arrange Your Workspace: Before beginning to melt the wax make sure that you have arranged your workspace properly from a safety perspective. Place any open flames away from flammable items such as oil cloths or curtains. Make sure that any wires are safely tucked away to prevent tripping or electric shock hazard. Lastly, wear protective clothing such as long sleeves and eyewear while working near uncontained gas or power sources.
Heating the Wax
The first step when making container candles with palm wax is to ensure that all of the necessary supplies are gathered and ready. This will include a thermometer, double boiler, pot holder, heat source, wax container, dye, wick and wick centering device.
Once these materials have been collected, it is time to begin melting the wax. The best way to safely heat and melt wax is by using the double boiler method in which a pot of water has been placed in a larger vessel. The extra layer of insulation provided by the two-level setup greatly reduces the chances of scalding or burning yourself on hot wax as it melts.
Begin by bringing the pot of water to just below boiling. Once it has reached about 180°F (82°C), place your approved wax container directly into the smaller vessel. Keep an eye on the thermometer as you stir, adjusting heat levels as necessary until all of your wax has completely melted and its temperature rises between 160°F (71°C) for brittle mixtures or 170-175°F (77-79°C) for soft mixtures respectively . Adding your desired dye following complete melting is strongly advised before continuing onto pouring your candle containers.
Pouring
To make a container candle with palm wax, you need to properly outline the process of pouring the wax into the container and adding pigment or dye when applicable. The steps you should take include:
1. Place your wick in the center of your container candle, making sure that it is secure and in place.
2. Measure out your desired amount of palm wax flakes and put them in a double boiler or metal pot. Turn on medium heat until the flakes are fully melted and mixed together. This usually takes about 15 minutes.
3. Once melted, turn off the stove and let it cool for a few moments before proceeding onto the next step.
4. If desired, add a fragrance or essential oil at this time to customize your candle’s scent as well as a small amount of pigment or dye if you wish to give it color. Make sure it is completely mixed throughout before moving onto pouring the wax into your container holders.
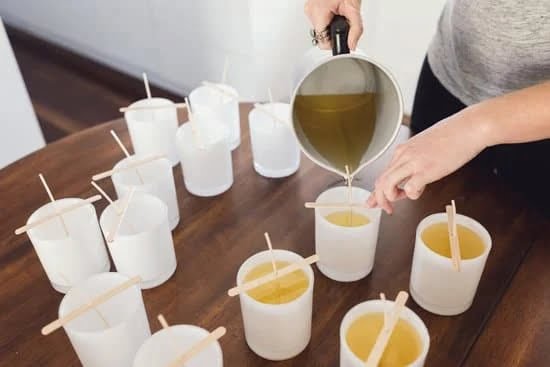
5. Slowly begin pouring the molten wax into each holder, one by one in an even slow motion to ensure that there are no air bubbles created within the mixture as this will detract from its performance when lit later on once complete ” and could ultimately ruin several hours’ worth of work!
6 Once all containers have been successfully filled, immediately insert smaller wicks if necessary as they help burn more evenly while melting away any exposed edges around each mold after curing has occurred overnight; which will then be ready for use!
Cooling, Setting, and Decorating
Cooling: To safely cool the wax, place your container candles in room temperature or cooler air. Let the wax harden for several hours before handling. If you are in a hurry, you can also place the candles in a refrigerator. Setting: To set the finished shape of your container candle, either wait until the wax has cooled and hardened naturally or (for optimal results) wrap the hot candle with a tightly/smoothly stretched cloth. Be careful not to bump your candle while it is still hot as this will cause it to lose its shape. Decorating: To decorate your container candles, you have a few options. You can paint them with artistic embellishments such as glitter, puff paints, and ribbons; melt crayons over them; use mustaches formed from gold or silver foil cutouts; sprinkle on crushed egg shells or potpourri; or apply essential oils or fragrance oils to give it a pleasant scent.
Safety Tips
Making container candles with palm wax is a great way to enjoy the smell, ambience and experience of a recently made scented candle. It also has the potential to create masterpieces that can be appreciated for years to come. However, it is important to ensure safety is your top priority when making these candles. Approved safety guidelines should be followed at all times while lighting and creating these candles.
When working with heat sources such as wax melters and the wick pins on the paraffin warmer, caution must always be used in order to avoid any dangerous situations and serious injuries. Wearing protective clothing such as oven mitts or latex gloves can help protect against burns from hot wax. Furthermore, precautions should be taken when handling containers of hot liquid wax – keep away from children, other observers, pets and flammable materials.
Be sure to keep your workspace ventilated as melting wax emits fumes which can be hazardous if inhaled for long periods of time. Taking short breaks away from fumes should become an important part of your process when making your container candles with palm wax. Lastly, ensure that all left over materials such as containers and wicks are disposed of safely according to local regulations in order to provide an environmentally responsible candle-making experience.
Finishing Touches
Testing the Candles for Storage: To ensure that your candles are prepared for storage, you should perform a few tests. First, check to make sure that your candle is burning evenly on both sides. If it is, then there may be too much wick in the center of your candle and you’ll need to shorten it. You should also perform a burn test, where you light the candle and let it burn until it reaches halfway up its sides. Note how long this takes; if little or no wax is melting away after several minutes, then your wick may be too small and needs to be replaced with a bigger one that can accommodate more wax. Once you have tested your candles and they pass without issue, they are now ready for packaging!
Packaging the Candles for Storage: Begin by cleaning each container thoroughly with soapy water before drying them off with a cloth. Carefully place each candle in its own separate bag or box before labeling them with their weight information and fragrance names/type for easy reference later. Lastly, store all your candles in an area away from direct sunlight as UV rays can cause them to fade prematurely over time.
Conclusion
Using palm wax to make container candles is a great way to create sustainable, low-carbon candles without compromising on their quality. The wickless structure of the wax makes it easy to shape into container and jar candles with exciting designs, accompanied by subtle fragrances all without risking smoke.
However, as with most types of waxes, palm wax also works best in combination with other materials, such as soy and stearic acid. It can be difficult to work with and some ambient conditions are required for successful melting and pouring of the liquid wax.
Overall, there are both advantages and disadvantages when it comes to making container candles with palm wax. On one hand, its sustainability and lack of smoke makes it a great choice for those looking for eco-friendly packaging solutions for their products. Conversely, working with this type of wax is challenging and requires additional ingredients for successful results in candle making.

Welcome to my candle making blog! In this blog, I will be sharing my tips and tricks for making candles. I will also be sharing some of my favorite recipes.

