Introduction
Making a swirl color candle can be an exciting and rewarding craft. It requires a few supplies but follows a relatively straightforward procedure. All you’ll need are the following materials: prepared wax for melting, dye for the desired colors, fragrances (optional), and of course wick and wicking equipment.
The process begins by preparing the containers that will hold your candles. Pour melted wax in successive amounts until it reaches the desired size; then add dyes in different sections of the wax to create several swirls of color. For interesting visual effects, try layering multiple whites and other hues to get even more colorful candles! Then, once the melted wax has achieved its desired temperature, pour it into the prepped containers and let it cool down. Finally, thread the wick through a straw or other appropriate object, position it in the middle of your candle container, and secure with tape at both ends.
Creating a swirl color candle can be great way to explore your creativity while learning valuable techniques in candlemaking. With some practice and patience, you’ll not only enjoy a sense of accomplishment after completing this project but also have beautiful personalized creations to show off to friends and family!
Gather the Supplies
To make swirl colored candles, you will need some basic supplies. These are paraffin wax, a double boiler, dye, wicks and moulds of your choice. You will also need rings to hold the wick in place and a stirring rod or spoon. Additionally, you may want to purchase an electronic or traditional thermometer so you can keep track of the temperatures when melting the wax and dyes. It is also important that you have protective gear such as goggles and gloves in case of spills.
When working with open flames, be sure to keep them away from flammable materials and always have a fire extinguisher nearby. If any spills occur, use baking soda on them immediately to help prevent a fire hazard.
These supplies can all be found at many craft stores or online retailers such as Amazon. Have fun creating colorful candle designs!
Instructions Step-by-Step
Step 1: Assemble the supplies
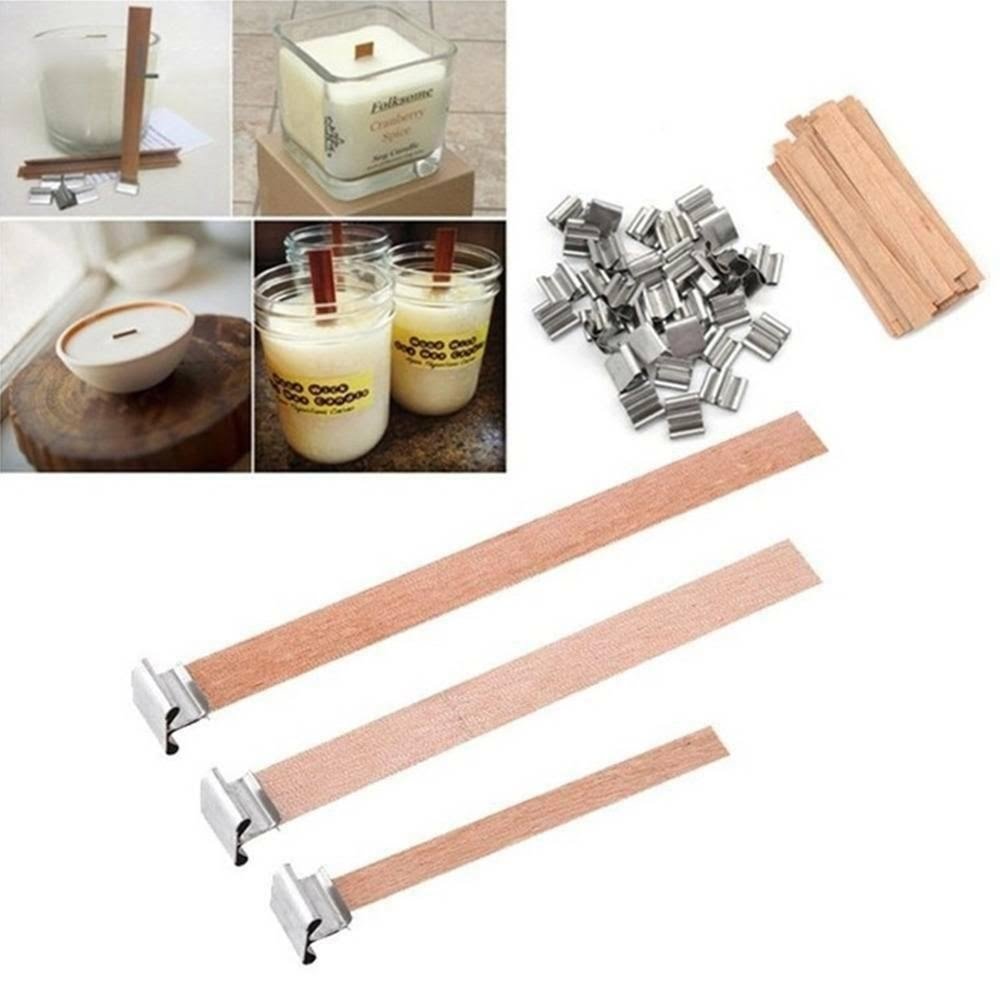
You will need: wax, candle wick, stearic acid, color chips or liquid candle dye, a double boiler and a container to pour the wax into.
Visual example:
(Image)
Step 2: Prepare the wick and mold
Take the wick and wrap each end around a pencil or chopstick so that it creates a loop in the middle. Place this inside the container you are pouring your wax into. The pencils should rest over the top of the container so that the wick stays centered and will not move when pouring in wax. Secure with tape if necessary.
Visual example:
(Image)
Step 3: Melt Wax in Double Boiler
Fill one part of your double boiler with water and place it on your stove burner over low-medium heat. Once boiling, reduce to low heat. Put another part of your double boiler on top and fill two thirds full with wax. Allow wax to melt slowly while stirring occasionally with a wooden spoon or spatula until completely melted (ensure it is all melted before continuing).
Visual example:
(Image)
Step 4: Add Stearic Acid and Color Chips/Dye to Melted Wax
Once melted, add ½ teaspoon of stearic acid for every pound of melted wax (or ¼ teaspoon if using liquid dye instead of color chips). Stir gently until stearic acid is mixed in evenly. If you’d like to add more depth or shine to your candles, now add either liquid candle dye or color chips and stir until all coloring is fully mixed in (repeat step for each additional color). Note – adding too much dye can cause cloudiness or discoloration of your candles! Keep track carefully how much dye is added for best results.
Visual example:
(Image)
Step 5: Pour Wax Mixture into Mold/Container Carefully pour wax mixture into prepared mold or container while still over low heat (to prevent air bubbles from forming). Hold onto loops at either end of your candle wick when doing this allowing some slack ” this helps keep them centered more easily as standard gravity pulls downward when pouring and reduces chance for leaning after poured out too quickly. Note ” Do not breathe near your heated wax during this step! That goes for both steps 3-5!
Visual example: (Image)
Step 6: Wait Until Wax Hardens & Trim Wick Measure wait times at least 16 hours depending on size/shape of candle molds used & temperature kept when melting/pouring etc., then allow longer periods afterwards if desired result isn’t achieved yet; trim away excess length from end of wicks & enjoy light bathing ambience created by DIY swirl colors candles!
Adding Color
Making swirl color candles is a great way to add a unique look to any home. To create this effect, start by selecting the desired colors you wish to include in your swirl. You can select one or more colors depending on the desired effect. Once you have chosen your colors, you will use special wax-dye blocks, which can be purchased from craft stores, that melt easily into the melted wax at different temperatures.
When melting and combining the dyes with your wax, it is important to pay attention to the temperatures of each so that they retain their individual color and don’t blend together too much when they are poured into the mold. Start by melting each dye individually. If incorporating multiple colors use an equivalent amount of dye for all your dye blocks so that all retain their individual shades when blended together.
When complete add in wicks and pour them all into a pan or mold that has been prepped with release agents and lubricants. Once in the mold slowly tilt it around and side-to-side until the pattern starts to develop. Stop before you think it is done as continued rotating can cause blending of the colors until no distinction between them remains.
This process allows for infinite possibilities for results as far as patterning goes – from simple striped columns up and down a candle, to intricate cloud styles where several pinpoints of various colored waxes are integrated throughout a white background or basic marbleized swirling ” it just takes trial and error depending on how creative one wants to get!
Finishing Touches
One way to dress up your swirl color candles is to add a ribbon. Choose a ribbon that matches the colors in your candle, such as coordinating green and blue ribbons if you have made a candle with those two colors. Simply tie the ribbon around the base of the candle or wrap it several times near the top for added detail.
Another way to embellish your candle is to add charms. Charms can easily be tied onto thin pieces of thread or fishing line and then hung from the top of the candle for an eye-catching look. Glitter and beads can also be used to create unique designs on your finished product.
Tips and Tricks
1. Start with a good quality wax, like beeswax or paraffin to ensure your candles will last longer and burn more slowly.
2. Prep the supplies you’ll need for making your candle: wax, double boiler, scenery dye (soap coloring or food coloring), small fragment of crayon, glass jars, wooden skewers. If a double boiler is unavailable, you can use an old saucepan filled with a few inches of water and place a metal bowl on top so that it rests above the waterline.
3. Create your candle in layers by melting your wax in the double boiler and stirring in the dye until desired color is achieved.
4. For each color you want to add to the jar start with one layer at a time, letting them cool completely before adding another layer on top. When building up multiple layers pour a thin stream of wax into the center for greatest success – this will help keep the layers distinct so that when peeled apart you get pieces with straight edges rather than rounded ones!
5. When all layers are set create swirls and patterns within each layer by running a wooden skewer through to combine two colors – but don’t stir them together as it will make everything look muddy! Alternatively, if materials such as skewer aren’t available then you can use your finger instead to achieve this effect for each layer separately!
6. Once all desired patterns are created let it cool completely and enjoy!
Conclusion
Swirl color candle making is a fun, creative and inexpensive way to craft beautiful works of art. The process, while seeming complex at first, is simple enough that anyone can make beautiful swirl candles with amazing effects. By carefully blending several colors of wax together and pouring them into a mold, the end product will be gorgeous handmade candles that can be kept for future use or gifted to friends and family. With a basic understanding of candle making knowledge, you will be quickly on your way to making incredible swirl candles that will impress your guests.

Welcome to my candle making blog! In this blog, I will be sharing my tips and tricks for making candles. I will also be sharing some of my favorite recipes.

