Introduction
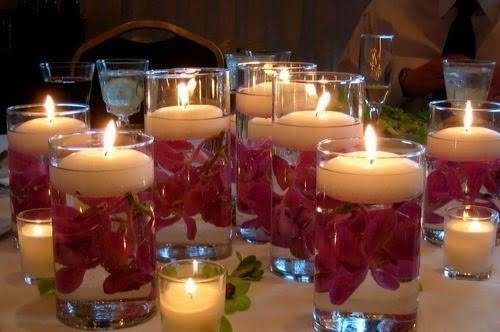
Poured beeswax candles are an amazing addition to any home because they offer a beautiful, natural light with a wonderful, subtle scent of honey. In addition, these candles can be made with natural and man-made ingredients, giving the user the ability to customize their product for the perfect fit for their home décor. This makes poured beeswax candles especially appealing to those who want their candles to be both beautiful and environmentally friendly. Not only that, but making them is a simple process that uses easy-to-find supplies and is fun for anyone looking to get creative. With all of these benefits in mind, pour beeswax candle making instructions can help you create your own special masterpiece!
Benefits of Making Poured Beeswax Candles
Making your own poured beeswax candles offers numerous benefits. The first is that you know what goes into the wax you’re using, meaning you can create a product without any added chemicals or unnatural ingredients. Beeswax also naturally emits a pleasant scent, adding to the ambiance of any room. Furthermore, it also produces negative ions as it burns, helping to balance the charged particles in the air which ultimately purify it for improved breathability and mental clarity. Finally, beeswax has a longer burn time than most other candles, lasting up to five times longer than those made from paraffin wax. This means fewer trips to the store and more enjoyment from your candles.
Must-Have Supplies for Making Poured Beeswax Candles
When making poured beeswax candles, you will need a few essential supplies. An unscented beeswax block is the base for a high-quality candle. You should select a size that coordinates with the type of container you plan to use for your candle. You can also get unraveled sheets of beeswax, which will save you time when grating or melting the wax for pouring.
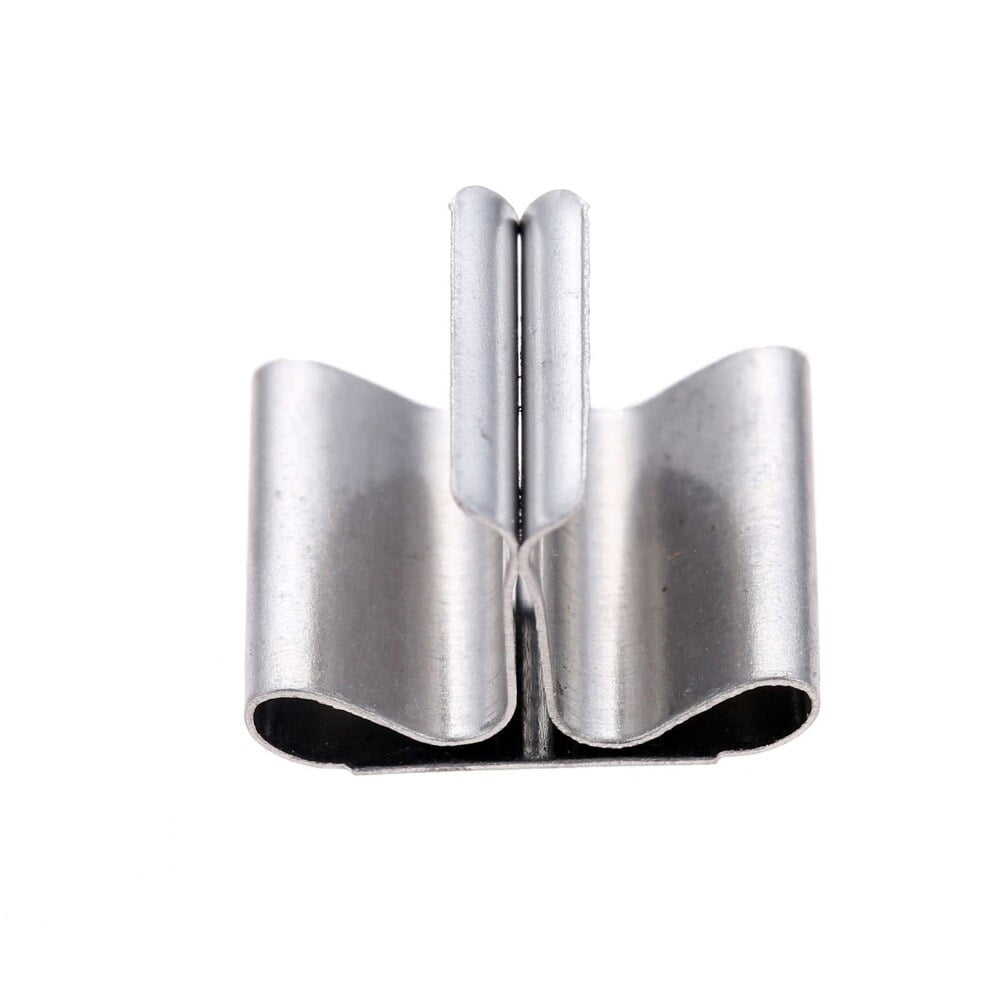
In addition to beeswax, expect to buy wicks and other additives used in beeswax candle making, such as fragrance oils and metallic mica. Safety pins used as wick clips come in handy during the process. Make sure to pick up assorted sizes of containers for melting and cooling your poured wax; glass measuring cups often do the trick nicely. Lastly, before you begin creating your masterpiece, have materials such as scissors and painter’s tape ready to go; they will be helpful while completing various steps.
Step-by-Step Guide to Making Poured Beeswax Candles
1. Begin by gathering all the necessary supplies. You will need beeswax, wicking, wax dye if desired, glass jars or metal tins for molds, large pot for hot water bath, and a spoon for stirring.
2. Find an area to work in that is well ventilated and where you can have easy access to running water and soap. Have a pot of boiling water on hand and make sure all surfaces are thoroughly clean before beginning.
3. Measure out the amount of melted wax needed for your project, based on the size or number of candles being made. Place the wax in the top vessel of a double boiler set up or alternatively create your very own setup with a pot filled with water and a stainless steel bowl fitted across it into which you place the beeswax pieces. Handle any hot containers with tongs or protective gloves while using them over heat sources as they can get extremely hot!
4 . As soon as the wax reaches its melting point (most usually around 145°F), stir it with a spoon until fully melted to combine it evenly without any lumps. If adding color to your candles make sure to do this now and if not just leave it pure white for now! If any bubbles appear skim these off with a spoon as otherwise this would interfere with getting an even pour later on in step 6
5 . Once everything else is ready take your wick out from its packaging and thread this through each individual jar before setting them upright onto paper towels laid on a flat surface in such case that they don’t tip over while pouring your molten beeswax !
6 . Transfer the melted-beeswax slowly into each glass container – ensure that you do this carefully and slowly so there are no blemishes left behind as this could cause them not to burn correctly in addition watch out for overflow when filling terra-cotta planters or other larger candle holder moulds! If desired add more dye at this stage using drops inside per candle & continue stirring , pouring until all of your chosen vessels have been filled evenly .
7 . Let everything cool before removing any paper-towels underneath & then trim back any excess wick length before lighting them up – enjoy!
Creating Color and Scented Beeswax Candles
When making your next batch of beeswax candles, you can add both color and scent to enhance the traditional beauty of this popular wax. Poured beeswaxcandles are among the most popular styles because they offer a unique blend of appearance and performance. The instructions below will help you create vibrant colored and divinely scented candles that will make your home more inviting than ever before.
First, gather the supplies needed for candle making, including pre-tabbed wicks, dye chips to color your wax, and fragrance oil for creating a signature scent. You’ll also need a melting pot, thermometer, and an angled pouring pitcher for optimal control.
Once you have all the necessary supplies assembled, prepare the wick tabs by clipping them to size (according to the widths of containers). After doing this step, measure out enough dye chips or liquid dye needed to tint your wax according to desired intensity ” usually 1 teaspoon per pound is adequate. Finally, add your fragrance oil containing no more than 10% concentrations.
Now it’s time to begin melting down the wax in your heating vessel with temperatures hovering between 135-145 degrees Fahrenheit. You can then pour it into individual or group molds or containers once it has reached a semi-solid consistency ” typically around 210 degrees Fahrenheit. Make sure that when pouring the hot wax inside a container that you hold both containers in one hand while controlling their pour with the other hand using an angled pouring pitcher for convenience.
Once completely dry (around 8 hours), trim back any excess wick and view your beautiful colored and scented creations! To enjoy burning these candles responsibly refer to safety guidelines found on our website before lighting them up in your home or office space.
How to Make a Custom Candle Mold for Your Poured Beeswax Candles
Making your own candle molds can add a unique and creative touch to your poured beeswax candles. The process is surprisingly simple; all you need is some tin foil, any container of your desired size, and a pair of scissors. First, start by tearing strips of tin foil to wrap around the outside surface of the container ” this will become the mold for your candle. Take care to make sure the inner wall of the container is fully covered. Additionally, it may be helpful to create “handles” in the form of 2 small bunches on either side that can be used to easily grip and pull off the newly-made mold when it’s finished. Once adequately coated on all sides with tin foil, pick up both ends securely with each arm and press against a flat surface. This will smooth out any bumps or irregularities so that your candle has a uniform shape once poured into it. Finally, use your scissors to trim away excess tin foil from the sides while keeping a general before you’re done ” making sure no hard edges remain on top.
Once your custom molded perfectly shaped beeze wax candle mold is complete, you’re now ready to start pouring! Heat enough wax until it reaches a liquid state – pour this over an embedded wick tie with wicking already protruding out of one end – into your new custom mold versus pre-made molds found in stores. Take care when doing this as spilled wax will cause unsightly bumps in your candles while they cool down – wait until they are completely hardened before removing them from the custom molded container! You may need to gently warm up or dig out portions if wax leaks at the sides during pouring since cold temperatures will cause sudden hardening or popping of air bubbles inside after being briefly exposed to room temperature air – but overall you should enjoy seeing how each creative attempt shapes up into unique and beautiful results!
Troubleshooting Tips for Poured Beeswax Candle Making
Many candle crafters experience issues when making poured beeswax candles. Common problems include wick tunnels, excessive smoking, or misshapen containers. To help alleviate these issues and create a successful candle craft project, here are some troubleshooting tips to keep in mind during the candle-making process.
1. Ensure that your wicks are not too long or too short compared to your container size ” Wicks that are too long can cause excess smoke during burning, while wicks that are too short will not draw up enough wax during the burning process.
2. Use the right amount of stain relief ” Too little stearin lead to a weak wax pool and slow burn times while too much can result in poor heat transfer from the wick to wax.
3. Let wick anchors cool before adding more molten wax ” If the molten wax is added before cool down the previously poured layer it is likely for an excessive smoke issue due to displacement of air out of pockets between two layers of wax.
4. Give time for topside heat loss and cooling phase – This is a crucial step as over dripping causes misshapen containers due to unequal shift in materials (wax, glass). After pouring each layer give 15-20 minutes minimum before topping up new coating so that equal pressure builds up on all sides of the material like glass container.
5. Avoid using fragrances with high flash points – The flash point is a measure of how easily flammable oils are at what temperature which can be a risk for fire hazard when used in candle making processes with high temperatures mixed together with dry fuels like paraffin or beeswax. Stick to lower flashpoint scents for safety “vanilla and almond work”and avoid most citrus aromas as their acidity throws off the balance between oil and wax components
How to Safely Dispose of Poured Beeswax Candle Wax
When your beeswax candle has burned down, follow these steps to safely dispose of the wax:
Allow the candle to cool completely. Use a spoon or butter knife to scoop out the remaining wax and wick stubs. Transfer the used wax into a paper bag or newspaper. The wax can also be placed into a plastic container for later disposal.
If there is any excess candle wax left inside the container, place it outdoors in direct sunlight on a sunny day because sunlight helps soften the wax so that it can easily be removed from surfaces such as ceramic or glass. Afterwards, clean the surface off with lukewarm water and mild soap before adding in new poured beeswax candles.
In order to avoid any potential staining, take care when wiping away excess waxy residue from furniture surfaces such as wood tables after burning your poured beeswax candle. With proper disposal tips and additional safety guidelines, you’ll be able to enjoy your poured beeswax candles without any worry to its aftermath!
Conclusion
Making poured beeswax candles is a fun and rewarding activity that is easier than it looks. After gathering the necessary supplies, one only needs to melt the wax, select the colors, and pour. The process of creating something special out of everyday materials for yourself or a friend can bring great satisfaction. With just a few steps you can create beautiful and fragrant candles in sizes from votives to pillars perfect for your home décor or as great gifts. Enjoy experimenting with color choices and proportions until you find unique combinations to your liking as well as exploring fragrance variations for different effects or holidays. Now that you know the process of poured beeswax candle making, have fun in creative hands-on exploration to give any room a warm ambience with personalized elegance. Poured Beeswax Candle Making is indeed rewarding and an enjoyable way to spend time!

Welcome to my candle making blog! In this blog, I will be sharing my tips and tricks for making candles. I will also be sharing some of my favorite recipes.


