Candle making is a centuries-old art that continues to bring warmth and ambiance to homes around the world. In this article, we will explore the simple candle making steps that anyone can follow to create their own beautiful candles. Whether you are a seasoned crafter or a beginner looking to try your hand at something new, these easy-to-follow guidelines will have you making custom candles in no time.
The key to successful candle making lies in understanding the process and having the right supplies on hand. From choosing the perfect wax to selecting your favorite fragrance, each step plays a crucial role in creating a unique and personalized candle. By following these simple candle making steps, you will be able to unleash your creativity and craft candles that reflect your own style and taste.
Whether you want to create elegant gifts for friends and family or simply add a touch of charm to your home decor, learning the art of candle making can be a rewarding experience. By mastering the basics outlined in this article, you will soon be on your way to enjoying the beauty and warmth of homemade candles. So gather your supplies, prepare your workspace, and let’s dive into the wonderful world of candle making together.
Supplies Needed for Simple Candle Making Steps
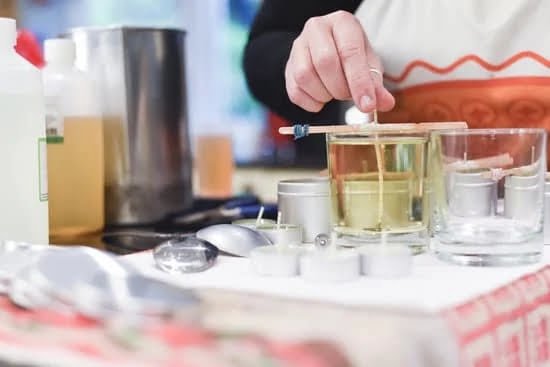
When embarking on your candle making journey, it is essential to have the right supplies at your disposal. Here is a list of items you will need to create beautiful candles using simple candle making steps:
- Wax: Beeswax, soy wax, or paraffin wax.
- Fragrance oils or essential oils
- Candle wicks
- Candle dye or colorants
- Containers for candles (jars, tins, etc.)
- Double boiler or microwave-safe container for melting wax
- Stirring utensil (such as a wooden spoon)
- Thermometer
- Cutting tool for trimming wicks
- Candle molds (if not using containers)
Once you have gathered all the necessary supplies, you are ready to dive into the simple candle making steps. With these items on hand, you can let your creativity shine through in every candle you make.
To begin your candle making process, ensure that you have all the required supplies within reach. Having everything organized and prepared will make the experience more enjoyable and efficient. Remember that safety is crucial when working with hot wax, so be sure to have a clean and clutter-free workspace before starting your project. Now, let’s move on to choosing the right wax for your candles in the next step of our simple candle making process.
Step 1
When it comes to candle making, one of the first and most crucial steps is choosing the right wax for your project. There are several types of wax available, each with its own unique characteristics and benefits. One of the most popular waxes used for candle making is soy wax, known for its clean burn and eco-friendly properties. Soy wax also has a lower melting point compared to other waxes, making it easier to work with, especially for beginners.
Another common choice for candle making is paraffin wax, which is readily available and often less expensive than other options. Paraffin wax has a higher melting point, resulting in longer burning candles. However, it’s important to note that paraffin wax is derived from petroleum, so it may not be the best choice for those seeking a more natural or environmentally friendly option.
Beeswax is another popular choice among candle makers due to its natural fragrance and long-lasting burn time. Beeswax candles are known for their beautiful golden color and mild honey scent. While beeswax can be more costly than other waxes, many prefer it for its natural origins and air-purifying properties. Ultimately, the choice of wax will depend on your preferences as well as the desired outcome of your candle project.
| Wax Type | Characteristics |
|---|---|
| Soy Wax | Clean burn, eco-friendly, lower melting point |
| Paraffin Wax | Less expensive, longer burning candles, derived from petroleum |
| Beeswax | Natural fragrance, long-lasting burn time, air-purifying properties |
Step 2
When it comes to making candles, selecting the perfect fragrance plays a crucial role in creating a captivating and pleasant experience for your senses. The right fragrance can set the mood, evoke memories, or simply provide a relaxing atmosphere in your space. Here’s how you can choose the ideal fragrance for your homemade candles.
Consider the Purpose of Your Candle
Before choosing a fragrance for your candles, consider the purpose of the candle itself. Are you making a candle for relaxation during bath time? Or perhaps you want a candle to create a warm and cozy ambiance during dinner parties? The purpose will help guide you in selecting a suitable scent that aligns with the mood or atmosphere you wish to create.
Explore Different Fragrance Families
There are various fragrance families to choose from when it comes to candle-making. Whether you prefer floral scents like lavender or rose, fresh scents like citrus or sea breeze, or warm and comforting scents like vanilla or cinnamon, there is a wide range of options available. Experiment with different fragrances to find one that resonates with your personal preferences and suits the occasion for which the candle is intended.
Test Your Fragrance Before Committing
To ensure that you have selected the perfect fragrance for your candles, it’s essential to test it before pouring it into your wax. You can do this by using small samples or purchasing fragrance oils specifically designed for candle making.
Testing different fragrances will help you determine which one works best with your chosen wax and desired scent strength. Remember that fragrances can vary in intensity once they are melted, so testing beforehand will prevent any surprises during the final product.
By following these simple steps when selecting the perfect fragrance for your homemade candles, you can create unique and personalized creations that delight both yourself and others who enjoy them. The right scent can elevate the overall experience of burning a candle and make it even more special. So take your time in choosing a fragrance that speaks to you and enhances the ambiance of your living space.
Step 3
When it comes to preparing the wick and container for candle making, attention to detail is key to ensuring a successful final product. The wick serves as the heart of the candle, responsible for guiding the flame and ensuring a steady burn. To start this step in your simple candle making process, you will need to choose the right wick size and type based on the diameter of your container and the type of wax you are using.
Before securing the wick in place, it is essential to prepare your container by cleaning it thoroughly with warm, soapy water to remove any dust or debris that could affect the appearance of your candle. Additionally, if you plan to add any decorative elements like dried flowers or herbs to your candle, now is the time to carefully arrange them at the bottom of your container.
| Wick Type | Container Diameter (Inches) |
|---|---|
| Small | 1-2 |
| Medium | 2-3 |
| Large | 3-4 |
Step 4
Melting the wax is a crucial step in candle making, as it determines the overall quality and appearance of your final product. To ensure successful results, follow these simple candle making steps:
- First and foremost, prepare a double boiler or a large saucepan filled with water and a pouring pot or heat-safe container to melt your wax.
- Next, cut or break down the wax into smaller pieces to help it melt more evenly and quickly. Be sure to use the appropriate amount of wax based on the size of your container.
- Place the wax in your pouring pot or container and begin heating it over low to medium heat. Stir occasionally with a wooden spoon until fully melted and smooth.
Adding color to your candles can enhance their aesthetic appeal and create a personalized touch. Here are some easy steps to achieve beautifully colored candles:
- Choose high-quality liquid or dye chips specifically made for candle making. Add them gradually to the melted wax, stirring gently until you reach your desired color intensity.
- If you prefer natural coloring options, consider using soy-based dyes or even dried flowers/herbs infused in the wax for a unique look.
- Remember that less is more when it comes to coloring candles; start with a small amount of dye and adjust according to your preference. Test a small amount first before adding color to all of your wax.
By following these straightforward candle making steps for melting wax and adding color, you’ll be on your way to creating beautiful, customized candles that reflect your creativity and personal style. Experimenting with different colors and combinations will allow you to craft unique candles for yourself or as thoughtful gifts for others.
Step 5
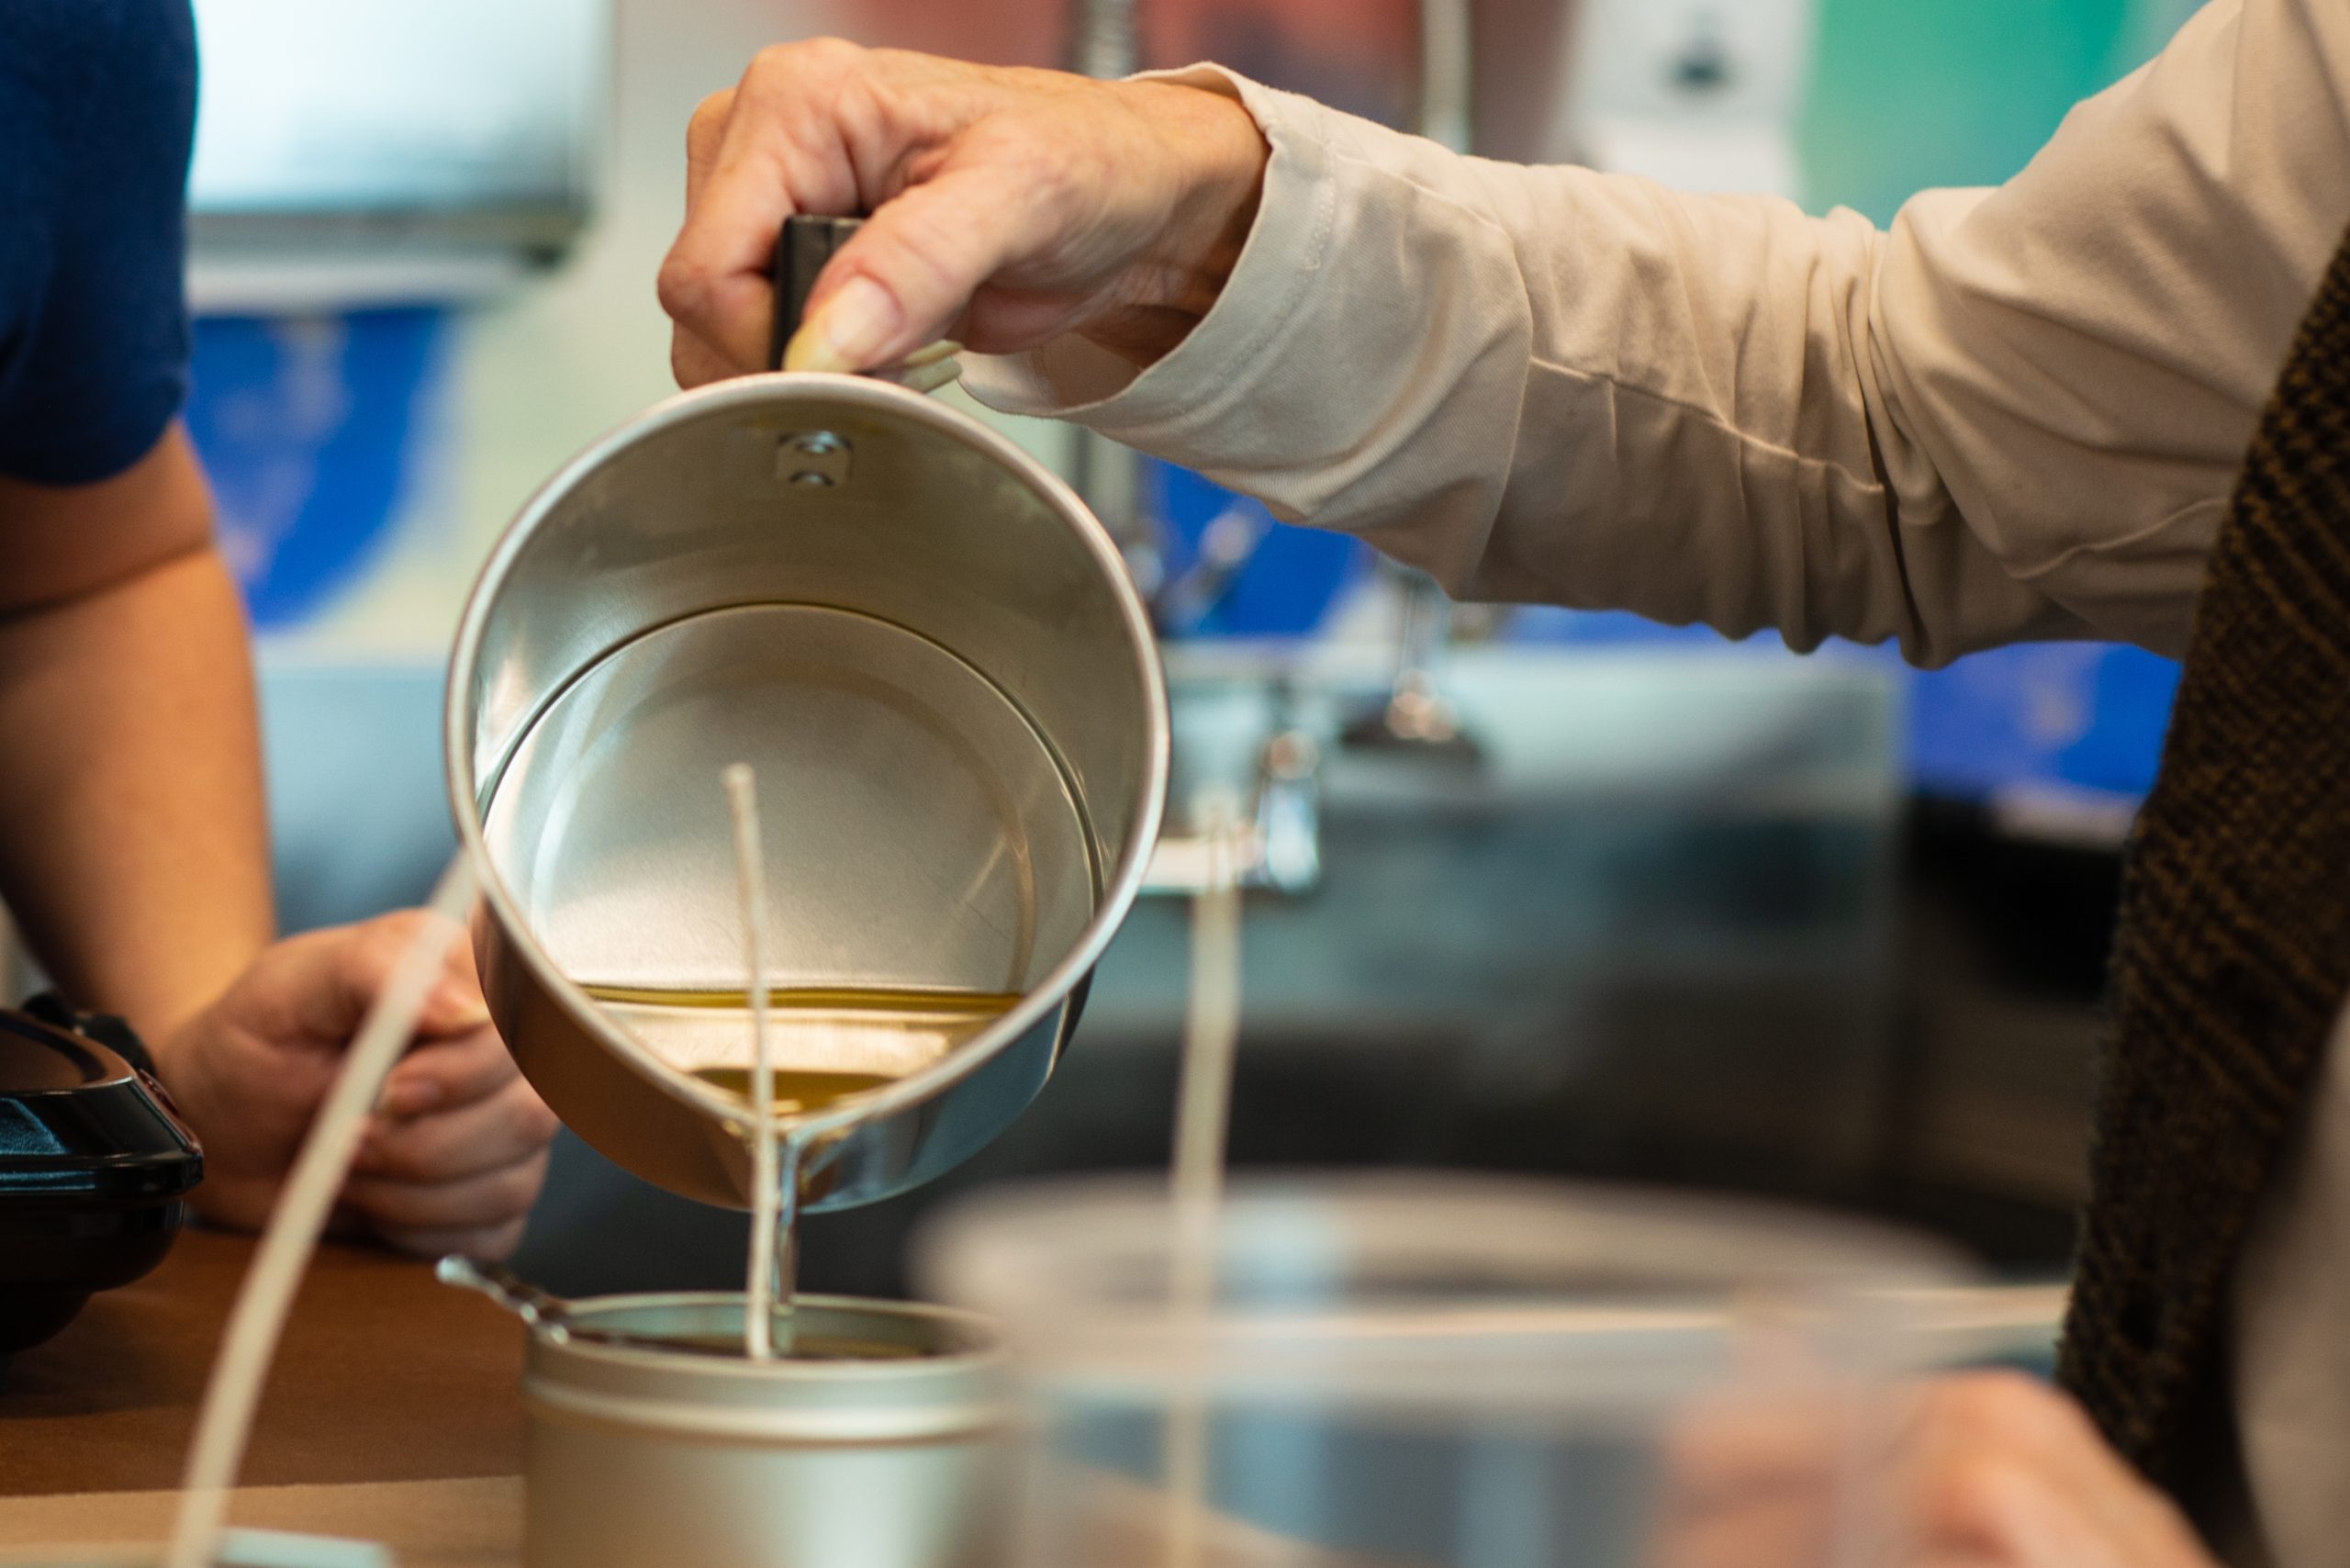
After carefully preparing the wick and container for your candle making project, the next crucial step is pouring the melted wax into the container. This step requires precision and patience to ensure that your candle sets properly and burns evenly.
Once the wax is melted to the appropriate temperature, it is important to pour it slowly and steadily into the container of your choice. This not only helps prevent spills and splashes but also allows for an even distribution of wax within the container.
When pouring the wax into the container, be mindful of any special designs or layers you may want to create in your candle. Whether you are using a simple glass jar or a decorative mold, take your time to pour the wax in layers if necessary to achieve the desired effect. For scented candles, this is also the perfect time to add any essential oils or fragrance blends to infuse your candles with delightful aromas.
It is essential to leave some space at the top of the container when pouring the wax to allow room for finishing touches such as trimming the wick and adding any additional decorations later on. Remember that patience is key during this step of candle making – do not rush through pouring the wax as it can affect how well your candle sets and burns.
By taking your time and following these simple candle making steps diligently, you will soon be enjoying beautifully crafted homemade candles in no time.
Step 6
Once you have poured the wax into the container, it is crucial to allow the candle to cool and set properly. This step is essential in ensuring that your candle hardens correctly and maintains its shape and quality. The cooling process may take a few hours, depending on the type of wax used and the size of the candle.
Monitoring the Cooling Process
During this time, it is important to monitor the cooling process regularly. Avoid moving or touching the candle while it is setting to prevent any disruptions in its formation. To check if your candle has cooled and set completely, gently touch the surface of the wax. If it feels firm and solid, then your candle is ready.
Patience Is Key
It’s important to exercise patience during this step of the candle-making process. Avoid rushing or attempting to speed up the cooling process as this can lead to imperfections in your candle, such as sinkholes or cracking. Allow your candle ample time to cool naturally for best results.
Storing Your Candle
Once your homemade candle has fully cooled and set, you can carefully remove it from its container. Store your finished candles in a cool, dry place away from direct sunlight or heat sources. Proper storage will help maintain the quality and longevity of your candles for future use or gifting purposes. Following these simple candle making steps will ensure that you have beautiful homemade candles that you can enjoy or share with others.
Step 7
After completing the previous steps of choosing the right wax, selecting a fragrance, preparing the wick and container, melting the wax, pouring it into the container, and allowing it to cool and set, it is time for the final step in creating your homemade candles: trimming the wick and adding finishing touches. Trimming the wick is an essential part of candle making to ensure a clean and even burn.
A trimmed wick helps control the flame and prevents excess smoke or uneven burning.
To trim the wick of your candle, use sharp scissors or a wick trimmer to cut it down to about 1/4 inch above the surface of the wax. This length is ideal for efficient burning and reducing any mushrooming at the tip of the wick. Be sure to trim the wick before lighting your candle each time to maintain its quality and safety.
Additionally, you can also add some finishing touches to personalize your candles further. Consider decorating the container with ribbon, charms, or labels that reflect your style or occasion for which you made these candles.
As you finish trimming the wick and adding any final embellishments to your homemade candles, take a moment to admire your craftsmanship. Enjoying your handiwork is one of the best parts of candle making. Whether you plan on keeping these candles for yourself or giving them as thoughtful gifts, know that you put time, effort, and creativity into each one.
With these simple candle making steps mastered, you can continue exploring different wax types, scents, colors, and containers for future projects. Let your imagination run wild with endless possibilities for unique candles.
Conclusion
In conclusion, candle making is a wonderful and creative hobby that allows you to customize your own unique scented candles for personal use or as thoughtful gifts for loved ones. By following the simple candle making steps outlined in this article, you can easily create beautiful candles right at home. From choosing the right wax and fragrance to pouring and setting the wax in containers, each step is essential in creating a high-quality candle.
After allowing your homemade candles to cool and set, don’t forget to trim the wick to the appropriate length before lighting them. This will ensure a cleaner burn and longer-lasting candle. Additionally, consider adding some personalized touches like labeling or decorating the containers for an extra special touch.
As you continue on your candle making journey, don’t be afraid to experiment with different fragrances, colors, and container options. You may discover new combinations that you love or develop your own signature style. Remember to enjoy the process and have fun creating these handmade treasures. With practice and patience, you’ll become more skilled at candle making and may even inspire others to try their hand at this rewarding craft.
Frequently Asked Questions
How Do You Make a Candle for Beginners?
Making a candle for beginners involves gathering the necessary materials such as wax, wicks, fragrance oils, and a container. Melt the wax, add fragrance if desired, secure the wick in the container, pour the melted wax, and let it cool.
How Do You Make a Candle in 5 Steps?
To make a candle in 5 steps, start by melting the wax using a double boiler or microwave. Add fragrance oils if desired before securing the wick at the center of the container. Carefully pour the melted wax into the container and allow it to cool and harden before trimming the wick.
What Is the Easiest Candle Wax for Beginners?
The easiest candle wax for beginners is soy wax. Soy wax is popular among beginners due to its ease of use, clean burn, and ability to hold fragrance well. It is also easy to find and relatively inexpensive compared to other types of candle waxes on the market.

Welcome to my candle making blog! In this blog, I will be sharing my tips and tricks for making candles. I will also be sharing some of my favorite recipes.


