Introduction
Candle making is an art form that has been around for centuries, and it still provides hours of enjoyment for people today. Handcrafted candles provide a unique way to bring beauty and fragrance into the home. Not only do they look and smell great – they can also be personalized with custom designs, scents, shapes, sizes, and colors.
No two candles are alike, so each one is truly a unique piece of artwork! Working with the medium of wax can be very rewarding because it can be manipulated into almost any type of design. Plus there are different types of waxes that burn differently; some are long-lasting and self-trimming while others have a shorter burning time.
Creating custom candle designs requires skill and practice but if you’re up for the challenge then you’ll learn some great tricks of the trade along the way. Many people choose to add colorants or dyes to their candle wax in order to achieve their desired color palette. Potpourri mixes or fragrances can also be added to enhance the sensory experience when burning a candle. Special additives such as Beeswax or Soy Wax can help prolong the life span of your homemade creation by providing extra weathering protection and improved scent throw. If you’re looking for more complex effects, consider using molds to create multiple-wick designs or candles with intricate details like spiral patterns or raised silhouettes – these are all achievable with a bit of know-how and patience!
Types of Wax to Use for Different Types of Candles
There is an array of wax types to choose from when it comes to candle making, and one must consider the purpose of the candle when determining which wax is best suited. For example, a scented votive should use low melting paraffin wax so that the scent can fill the room quicker. On the other hand, a soy based wax has higher container adhesion properties, making it ideal for containers such as jars. Beeswax is also a great choice for natural candles due to its purity and aesthetics. Finally, palm oil wax blends give candles a creamy texture with an excellent hot throw. Depending on what type of candle you are trying to make, each type of wax offers unique characteristics that can be used in order to create a variety of effects.
Preparing Your Workspace for a Stress-Free Candle Making Experience
When you are getting ready to make candles, it is important that you get your workspace set up for a stress-free candle making experience. To start with, select a clean, well ventilated area that you can use for making the candles and make sure all necessary products are nearby. Make sure to gather any tools that you will need such as double boilers, thermometers, wicks, wick bars or clips, wax melts, dye and molds. Ensure that your materials have been clearly labeled so that everything is organized into categories and easy to find when needed. You should also organize your wax melts by melt point so knowing what point each one will melt at prior to melting them makes it easier to judge when the wax reaches the desired temperature. Finally, check your station before starting to ensure you have enough supplies to complete your project without having to leave in order to find more materials mid-way through the project. By preparing ahead of time and creating an orderly workspace, candle making becomes an enjoyable and less stressful experience.
Formulating Fragrance Blends for a Unique Aroma
When it comes to candle making, crafting the perfect fragrance blend can be quite tricky. Understanding the complexity of scent families and how they interact is the first step in developing your own signature fragrance. To achieve a unique aroma, know the various types of fragrances and their individual characteristics.
The type of base fragrance you choose will determine which direction you take with your blend. Floral, fruity, spicy and woody are just some of the categories you’ll need to consider. Floral scents include light bouquets such as lavender and rose; whereas fruity fragrances encompass citrus and berry-based aromas. For a spicier blend consider warmer notes such as clove or cinnamon; while more earthy smells include patchouli and cedarwood. Start with one type of scent and add an accenting one for added complexity: for example, try rose with a hint of orange blossom for a feminine combination or amber with black pepper for a deeper masculine scent. Once you have created your own proprietary recipe it’s time to test its strength by burning a few candles to ensure there is a balanced aroma throughout the burn process without being overwhelming or becoming faint quickly. To make sure your fragrance outlasts its initial burst, use sustainable waxes larger wicks and higher concentration ratios to maximize scent throw .
Color Combinations for Creative Visuals
When combining colors for creative visuals, it is important to consider the intensity of the colors. While some colors can be mixed together to create a pretty consistent tone or hue, others highlight certain aspects of a certain color. For example, combining yellow and red together creates orange, which typically appears more vibrant compared to single yellow or red candles. This creates an immediate contrast between the two components and draws attention to the combination of colors in a visually appealing manner.
Similarly, two bright colors such as green and blue mixed together create an eye-catching aqua color which stands out without being too flashy. This technique can be applied when designing candles with intricate details like designs in wax that are often made with a stylus sanding tool or specific type of wax called moulding wax that helps add accents when used over existing design work. Combining contrasting colors in such detail helps candles stand out on store shelves and display tables making them easier to spot and purchase by customers. Furthermore, using complementary colors creates light/dark variations as well as subtle hue changes throughout the candle which further draw attention to the product itself and make for unique experiences for users at home.
Improving Your Candle Design with Embellishments
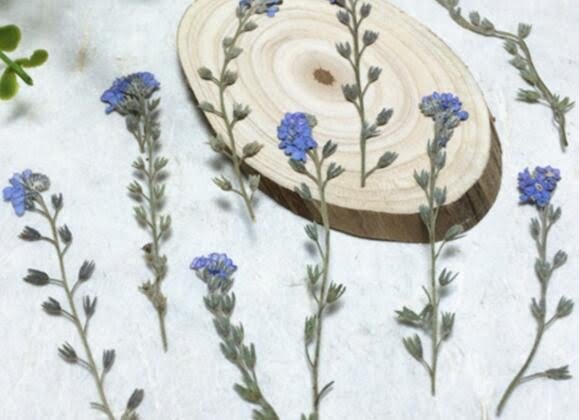
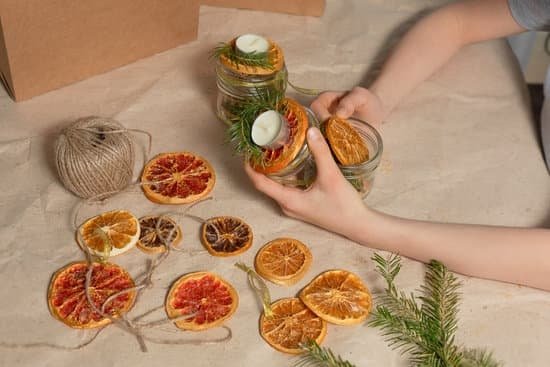
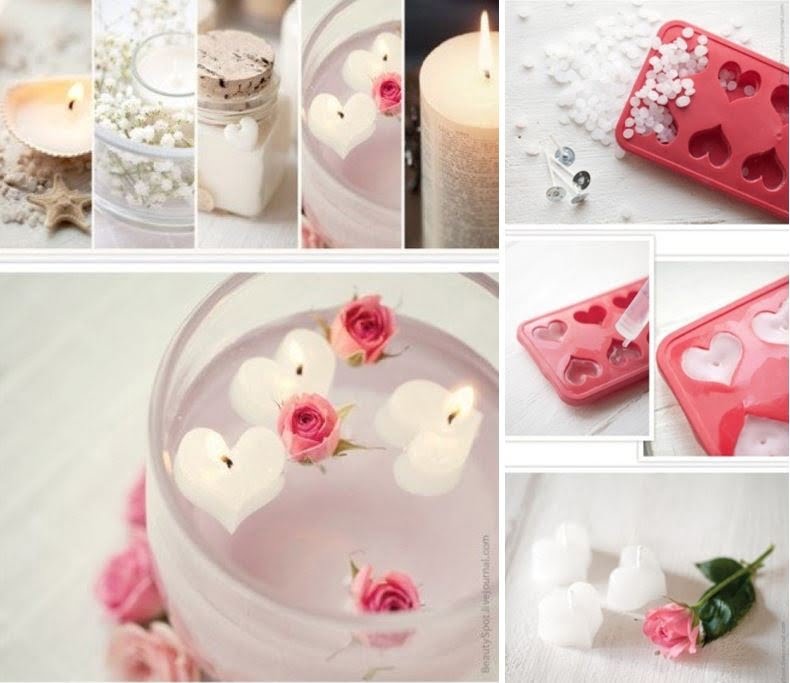
Adding embellishments to your candles can help you take them to the next level of design and craftsmanship. There are many different ways to do this, including layering colors and adding accents like dried flowers, glitter, confetti, herbs, and other decorative items. You may even choose to encase certain items such as shells or small toys in wax for added interest. Be sure you experiment with techniques that have been tested beforehand so that your result won’t cause any damage to the candle itself. Additionally, if you are making multiple identical candles for events like weddings or showers, doing a trial run with accessories is recommended before you commit completely. Carefully monitoring temperatures when melting wax and never leaving a candle unattended while it’s burning can ensure success when adding embellishments to your candles.
Tips for Extending the Lifespan of Your Candles
Candle making is a fantastic form of expression and can be very enjoyable. However, it can become frustrating if your candles don’t last a long time. To get the most out of your candles and make them last as long as possible, there are some tips that you should follow to help extend their lifespan:
1. Burn all-natural candles whenever possible as they often contain no additives and provide a longer burn time. The cleaner the wax, the better!
2. Make sure to trim the wicks on both new candles and those in use to prevent smoking and promote an even burn before lighting. It’s recommended to keep wicks trimmed to about 1/4 inch before each use.
3. Allow your candle to reach a full melt pool (where the entire top layer of wax is melted) before blowing it out for maximum burning duration and scent throw, this will also reduce tunneling and help ensure an even burn when lit again later on.
4. Avoid burning for more than four hours at a time as overly long burn times can cause excess sooting, especially in heavily scented or coloured candles; opt for shorter, but multiple shorter burns instead!
5. Keep your candle away from drafts which can cause uneven burning, frequent extinguishing, or altered scent throw; store your candle somewhere cool and dry with limited air flow when not in use too!
6. Store your candles away from direct sunlight; prolonged exposure to sunlight can fade colours faster and also affect wax formulations leading to quicker deterioration.
Correcting Common Candle Making Mistakes
One common mistake with candle making is not allowing the candles to cool properly before moving them. This can cause them to be misshapen and result in uneven burning. To avoid this, you should allow your candles to completely cool for at least 12-24 hours before you move them. This will ensure that they keep their shape during storage and use.
Another issue is incorrect wicks. The wick size needs to correspond with the size of the candle as too thick a wick can create a hole down the center of larger candles, resulting in an unsightly appearance. The same concept applies for black smoke from thicker wicks when using different waxes or even too many additives such as dye or fragrance oil. Make sure to choose the right size wick depending on the diameter of your finished candles and always test before pouring large batches with any new combination of materials.
Finally, another common error made by first-time makers is forgetting to remove air bubbles after pouring their candle mix into the mold. These bubbles can occur while stirring or while your mix is cooling and settling into place, so make sure to use a craft stick or something similar to pop them as they rise up through your liquid wax before it fully sets. Doing so will help you produce an even outcome that looks professional and burns beautifully free from imperfections like large holes or crooked shapes.
Creative Gift and Presentation Ideas for Candle Making
One of the most popular tricks of the trade for candle making is to think outside of the standard jar or votive holder. You can get really creative by using unexpected containers such as coffee mugs, teacups, soup cans, and even wine glasses to create unique and aesthetically pleasing candles. Filled with scented soy wax and essential oils, these pieces make extraordinary gifts that are sure to be remembered.
Another great trick is to explore creative presentation ideas. Adding labels, ribbons, and other decorations helps give your personalized candles a sophisticated look. Try designing custom labels with your logo or drawing inspiration from gift wrapping elements like twine, fabric florals and colorful ribbon bows. If you’re feeling extra daring, use artificial plants or miniature figures around the candles for additional flair! These little details will certainly impress your friends and family members who have come to admire this art form!
Conclusion
The most essential candle making tricks of the trade come down to understanding basics such as wax types, wick sizes, and scents while also having a good handle on the more intricate techniques such as swirling colors and embedding objects. By keeping these fundamentals in mind, you should be well equipped to make beautiful candles.
Begin with a reliable wax that has been formulated specifically for candle making. This is because some waxes can have a lower melting point, shrink when cooling, or not look great when it comes time to putting in the fragrance oils or coloring dye. If you’re new to candle making, start off with a paraffin based wax like soy-paraffin blend from leading suppliers as it will put less strain on your wallet and ensures easy cleansing when pouring in molds.
When choosing which wick size for your creation, opt for one larger than what is recommended. This gives you more wick control over how much burn rate you’d like while helping reduce excess pooling or not enough flame if your calculated size wasn’t quite right. Safety is always important so use cotton core wicks only – avoid zinc and lead cores!
Gone are the days of using vanilla extract or essential oils as fragrance oil specifically designed for candles provides truly unique fragrances instead of relying on old fashioned lavender and coconut. When incorporating color into the mix for an extra personal touch consider following common patterns such as applying after half of the pour nearing an end or swirls despite their tricky nature require some patience but their magnificent results are worth the effort. Finally embedding objects such as stones is fairly easy once you measure out enough spacing to make sure your creative ideas are visible through crystal clear melted wax.
In summary, these basic steps bring together necessary components to successful candlemaking – wax selection, wick sizing and type selection for safety reasons, quality fragrance oil selection coupled with a color pattern chosen wisely and objects placed appropriately -all resulting in a pro-esque creation blurring professional candles with ones made at home!

Welcome to my candle making blog! In this blog, I will be sharing my tips and tricks for making candles. I will also be sharing some of my favorite recipes.


